| CATEGORII DOCUMENTE |
| Asp | Autocad | C | Dot net | Excel | Fox pro | Html | Java |
| Linux | Mathcad | Photoshop | Php | Sql | Visual studio | Windows | Xml |
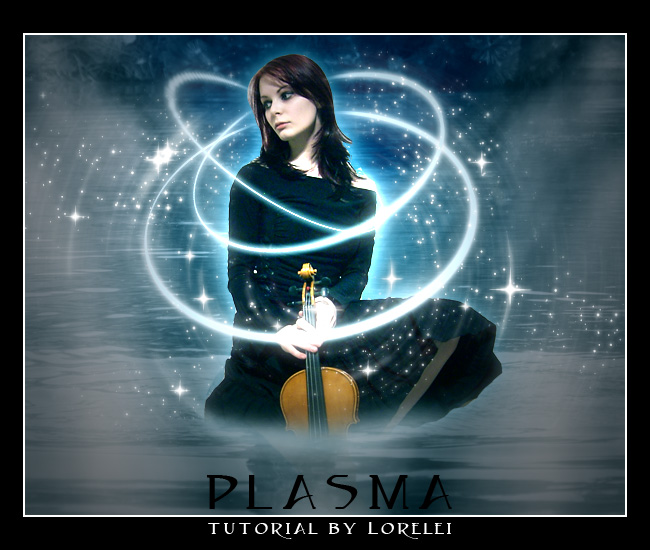
The requests for Fantasy Art tutorials are enormous, I still get emails and Pms from people asking to do more Fantasy Art tuts, so here is one more, called 'Plasma' (Star,
not the TV!) which I hope you'd enjoy.

1. Make a new canvas, we used 600*480 px
here, but the size is of course optional.
2. Select the Gradient Tool, using two shades of blue (see below), fill your
canvas, so that the darker colour will be on top.
![]()

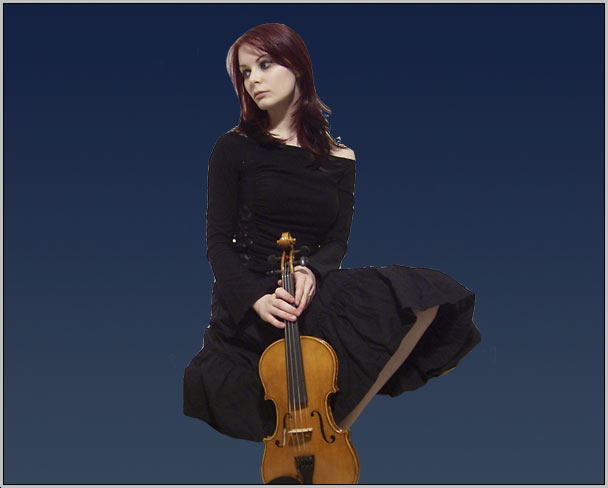
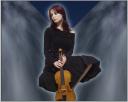
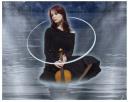
3. Take a photo of a girl. Traditionally I am using Becca's photo from her
Deviant Art account, but you can replace her with any semi-sitting figure of
your choice. Crop the figure and paste her unto your canvas. In needed, resize
her so that she will fit in.
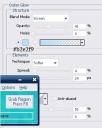
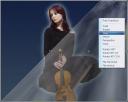
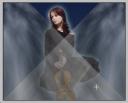
4. To get rid of the visible crappy cropping, and to give the girl more
emphasis, add blueish glow to her by going to Layer
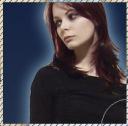
>> Layer Styles >> Outer Glow and applying the following settings:
This is what you would get:
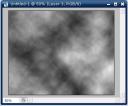
5. Make a new Layer. Make sure your primarily and
secondary colours are black and white. Go to Filter
>> Render >> Clouds
And, if needed apply the clouds effect a several times to achieve the desired
randomly 'clouded' effect.
6. Reduce the opacity of the layer to semi-visible.
7. Press Ctrl+T for free transform, and then right
mouse click and 'Scew'. Drag the left
corner of the clouds layer, as shown on the illustration below
Press 'Enter' when you are done, then Ctrl + D to deselect the layer.
8. Duplicate the clouds layer. Select the upper layer and go to Edit >>
Transform >> Flip Horizontal.
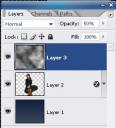
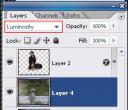
9. Select the girl's layer from layers panel and drag it to the top, so that it
would be your utmost upper layer.
Remember to remove the parts where layers turn to be on top of one another.
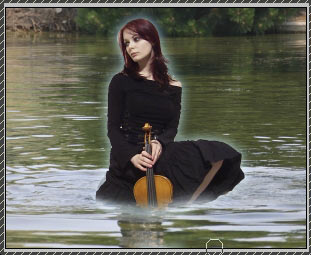
10. Take a photo of a lake with water circles. We used this one from Digital Free Photo,
but again - this is optional.
Paste the layer unto your composition, so that the circles in the water will be
'around' the girls or your main figure.
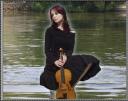
11. Using the Eraser Tool, remove the lower part of the girl's layer, so create
the illusion as if she is really sitting inside the water and the water circles
are 'from' her.
12. Set lake's layer blending options to Luminosity.
13. Drag the Layers of the clouds on top of the water later and using eraser
tool with soft edge (100px) remove the sharp parts, so that only the
'steaming' clouds will remain, no edges.
14. Now to the hard bit - creating the plasma cycles.
Make a new layer (this is important) and place it on top of all the others.
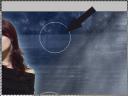
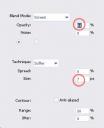
15 Using the Elliptical Marquee tool, draw and ellipse.
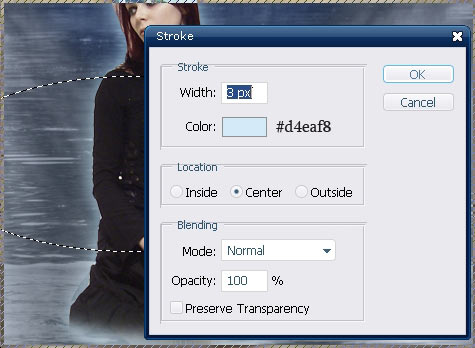
While the ellipse on the new layer is selected, Right-mouse-click and choose
'stroke'. Apply the settlings below for the stroke effect
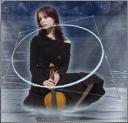
16. Press Ctrl + T to free transform, and then right-mouse-click >>
Prospective. Try to distort the round layer you have to it would look like the
line is surrounding or flowing around the girl.
17. Using the Eraser tool with big soft edge, remove the 'farther'
part of the round, behind her head, like this
18. While this layer is selected, go to Layer >> Layer styles >> Outter glow and apply the following glow settlings
19. Duplicate the layer a several times and each time transform the round using
the prospective settlings, so that the circles chaotically surround the main
figure's body.
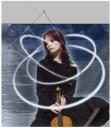
20. Remember to leave the 'front' part of the circle visible and
erase the 'back' part of it. This is more or less what you should
have by now
21. Flatten the Layer.
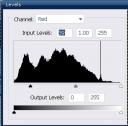
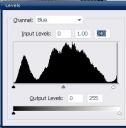
22. Go to Image >> Adjustments >> Levels and apply the following
settlings to give the image an overall bluish hue:
23. Duplicate the layer.
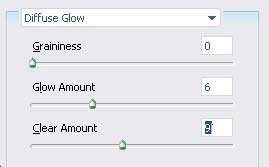
24. While the upper layer is selected (and your background colour
in the palette is set to white), go to Filter >> Distort >> Diffuse
Glow and apply these glow settings.
25. Reduce the opacity of the 'glowing layer' to 20% (or less,
depends on your image).
26. Flatten the layer again to merge both layers into one.
27. Using some star brushes (download free on deviant Art resources page),
apply the stars chaotically around and allover the glowing cycles.
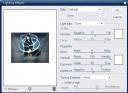
28. Select the background layer (the artwork, not the stars) and to to Renters >> Lightening effect, apply the following
spot light effect twice.
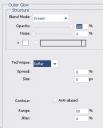
29. Get back to Stars layer, and go to Layer >> Layer Styles >>
Outer Glow, and add the following glow using white #ffffff
colour.
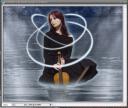
30. Duplicate the stars layer.
31. Go to Filter >> Blur >> Radial Blur and apply these settings.
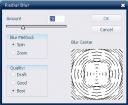
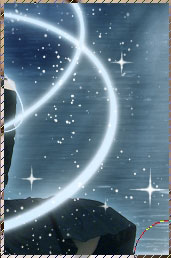
You may choose to reduce the opacity of this layer if you feel the rounded
blurred effect is too strong. That's it, your artwork is ready:
|
Politica de confidentialitate | Termeni si conditii de utilizare |

Vizualizari: 1349
Importanta: ![]()
Termeni si conditii de utilizare | Contact
© SCRIGROUP 2026 . All rights reserved