| CATEGORII DOCUMENTE |
| Bulgara | Ceha slovaca | Croata | Engleza | Estona | Finlandeza | Franceza |
| Germana | Italiana | Letona | Lituaniana | Maghiara | Olandeza | Poloneza |
| Sarba | Slovena | Spaniola | Suedeza | Turca | Ucraineana |

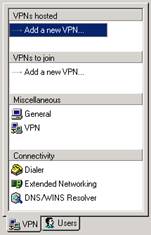
Configuring WinGate VPN as a Host
Hosting a WinGate VPN Server requires either a WinGate VPN Server or Advanced Server license.
![]()
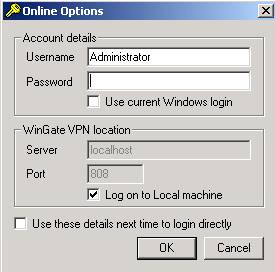
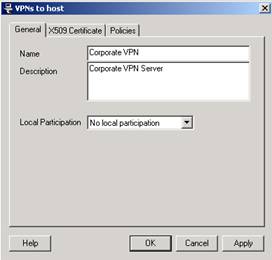
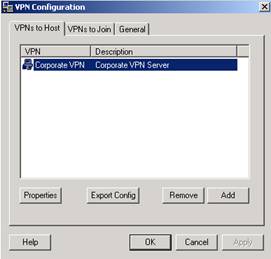
Local Participation Allows you to specify access level.
No Local Participation Allows remote clients to join this VPN and communicate with each other but disallows access to the VPN host itself
Local Machine Only Allows remote clients to access the VPN host itself but not the network connected to it
Local Network Allows remote clients full access to the network
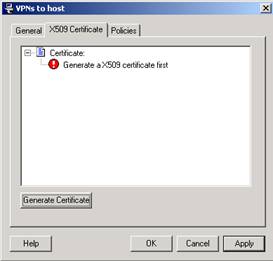
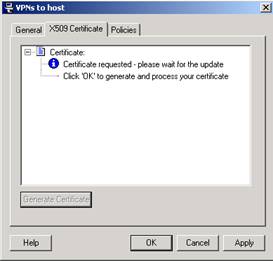
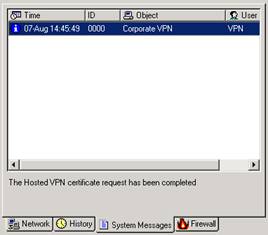
Select the Generate Certificate button to proceed
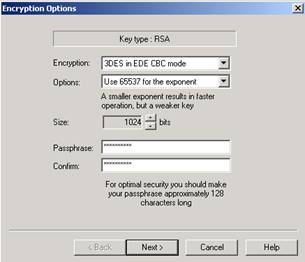
Encryption There are three options in this drop down box
Options An exponent is a quantity representing the power to which some other quality is raised. WinGate VPN offers two options
Use 65537 for the exponent
Use 3 for the exponent
Note: There is a trade-off between security and speed. A smaller exponent (in this case 3) means a faster, but less secure operation.
Size This refers to the size of the private key expressed in bits
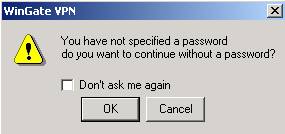
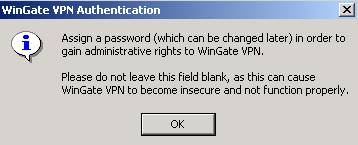
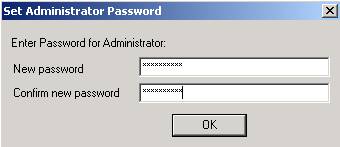
Passphrase and Confirm Enter a passphrase and confirm, these fields must match. The passphrase is used to decrypt the private key from persistent storage. The longer the passphrase, the more secure.
This is a typical example of the information presented in a VPN Certificate.
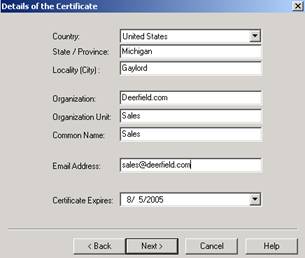
Click Next to continue

Click Finish
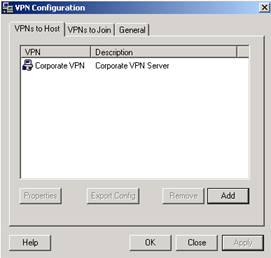
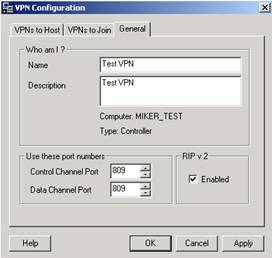
Name Choose a name for your VPN
Description This field can be anything
RIP v2 Check this box if you wish to publish routing information onto your LAN using RIP v2. If your client machines have RIP support activated, theyll become aware that you are the gateway for available routes over the VPN.
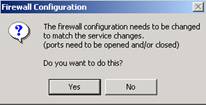
Click Apply then OK
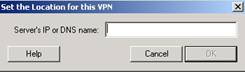
Specify the servers IP address or DNS name. If your servers IP address changes frequently (dynamic IP), we recommend DNS2Go. DNS2Go is a service that associates the name of your computer with its current IP address. Learn more at: https://www.dns2go.com.
Additional WinGate VPN Setup Guides are available at: https://www.deerfield.com/support/wingate
|
Politica de confidentialitate | Termeni si conditii de utilizare |

Vizualizari: 2310
Importanta: ![]()
Termeni si conditii de utilizare | Contact
© SCRIGROUP 2025 . All rights reserved