| CATEGORII DOCUMENTE |
| Bulgara | Ceha slovaca | Croata | Engleza | Estona | Finlandeza | Franceza |
| Germana | Italiana | Letona | Lituaniana | Maghiara | Olandeza | Poloneza |
| Sarba | Slovena | Spaniola | Suedeza | Turca | Ucraineana |
Magitech Portrait Editor Manual
The Magitech Portrait Editor is a tool used to make portraits for Takeda 2. This tool will allow you to replace portraits of your favorite characters with your own custom portraits.
1. Prepare the source picture
You need to have a source portrait in bitmap (.bmp) format. The source image must be 60 pixels by 60 pixels, and be in 24-bit format (does not contain Alpha channel).
60 pixels


2. Rename source picture
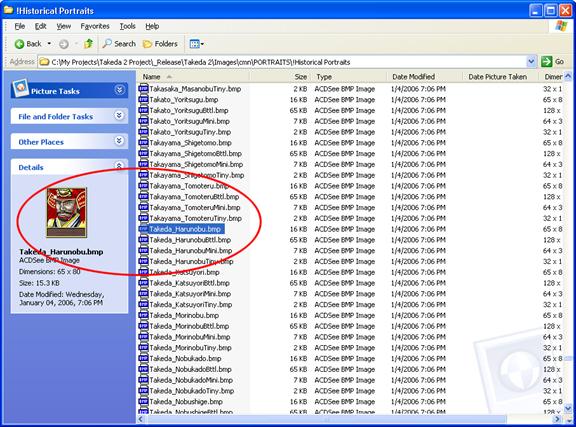
Locate the portrait that you wish to replace in your game folder (i.e. <your game folder>ImagescmnPORTRAITS!Historical Portraits). For example, if you want to replace the portrait for Takeda Harunobu, the file name for his portrait is Takeda_Harunobu.bmp. Rename your own custom source picture to Takeda_Harunobu.bmp.

3. Run PortraitEditor.exe
Run PortraitEditor.exe by double-clicking on PortraitEditor.exe.
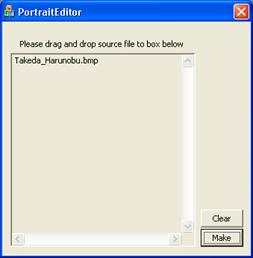
4. Import picture to Portrait Editor
Import your picture to the Portrait Editor by dragging your picture to the program window.
5. Make the game portraits
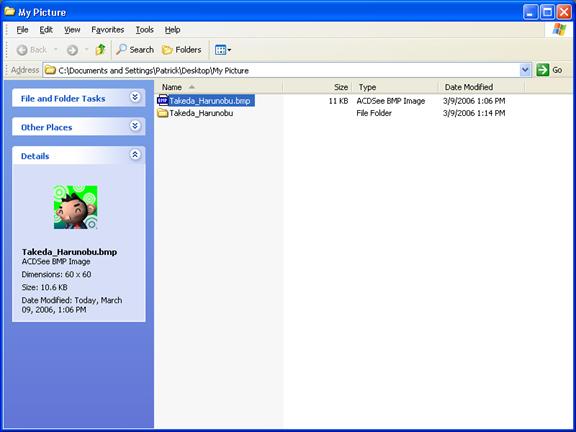
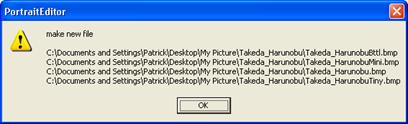
 Click on the Make button. The program will create four bitmap files in a
subfolder, named after the source file. The subfolder will be located in the
same place as the source file.
Click on the Make button. The program will create four bitmap files in a
subfolder, named after the source file. The subfolder will be located in the
same place as the source file.
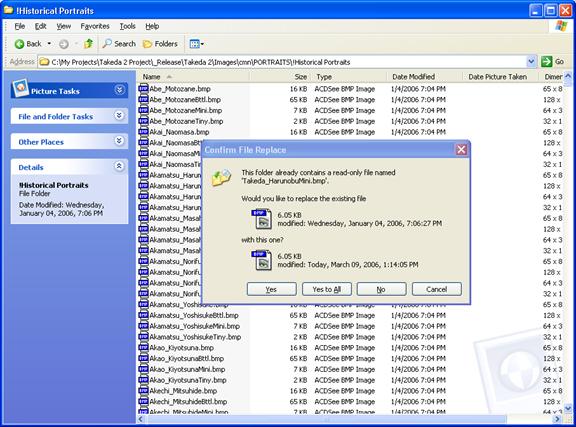
6. Replace the image in the game.
First, back up files that you will be replacing. Replace original game images with your custom images by copying and pasting them to the game folder (<you game folder>ImagescmnPORTRAITS!Historical Portraits)
Click Yes to All when asked to Confirm File Replace.
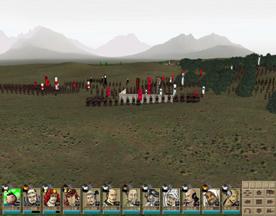
7. Enjoy!
|
Politica de confidentialitate | Termeni si conditii de utilizare |

Vizualizari: 1928
Importanta: ![]()
Termeni si conditii de utilizare | Contact
© SCRIGROUP 2025 . All rights reserved