| CATEGORII DOCUMENTE |
| Bulgara | Ceha slovaca | Croata | Engleza | Estona | Finlandeza | Franceza |
| Germana | Italiana | Letona | Lituaniana | Maghiara | Olandeza | Poloneza |
| Sarba | Slovena | Spaniola | Suedeza | Turca | Ucraineana |
This tutorial will show you a quick and easy way to model a bookpage. The problem in such a case would be how to easily create the appearence of it really having layers of paper. Now, in 3D Studio MAX there is a feature called noise, which will be very helpful in this. Also, you will need to use Free Form Deformation, a free plugin from Kinetix. I will also asume along the way that the reader has basic MAX skills, so I will tale for granted that you know what I'm talking about. Let's get to it.
First off, create a box with 100 height segments and 8 width segments. The measurements are L: 150 W: 100 H:30. Then, apply a FFD 2X2 modifier on it, and select the two bottom left control points. Drag these slightly to the left:
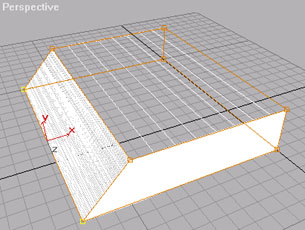
Here you can see the manipulated box.
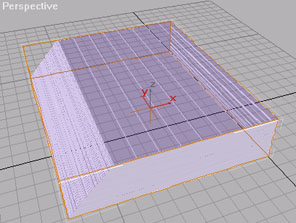
Next, to create the uneven sides of the book, add a noise modifier. The point with this, is that if you let the noise affect only in the width-direction (in this case the X-axis), it will make an uneven 'side' of the book. If you add a slight noise in the Y-axis as well, it will look even better. Here is the 'noised' book, and the noise control-box:
![]()
The 'noised' book (left) and the noise control box (right).
If you set the size to '2' the noise will not be very big. Also, with a weak strength, it will
not do too much. The point here is that it's supposed to look like it's slightly uneven, not 'overkill'. Try out different values to get the desired result.
The next step is to collapse the modifier stack. This is done so the noise will be implemented in the editable mesh, so that later modifications to the mesh won't be screwed up. Do not do this step until you are sure the noise is the way you want it. Next step is to go into Edit Mesh and select vertices as sub-objects. Select all the vertices on the inner side:
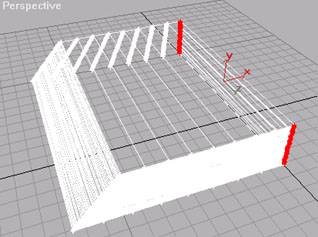
Select the vertices that add up to the 'inner' side of the book.
Select non-uniform scale and the X-axis. Now scale the selected vertices down, so that they appear to be on a straight line:
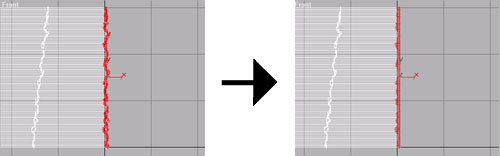
Scale the vertices down in the X-direction to make them appear to be on a straight line.
Next is the characteristic 'buldge' that appear in books after they have been used for a while. To do this, add a 4X4 FFD modifier to the mesh, and select these control points:
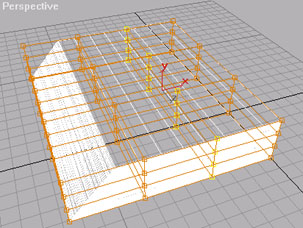
Select these control points.
Once you have selected them, move them upwards, thus creating the buldge:
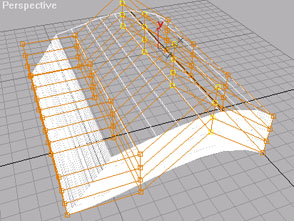
Move the selected control points up to create the buldge.
Next, select all the 16 control points on the right side, and rotate them,
to make the appearence of a bent back of the book:
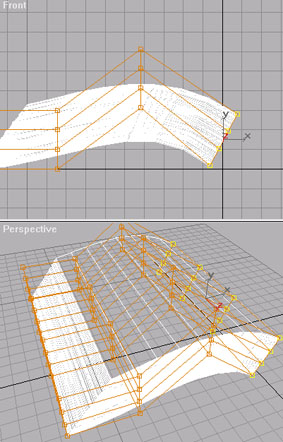
Select and rotate the 16 inner control points.
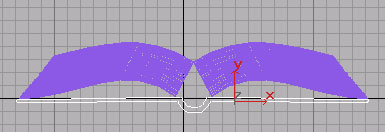
Now you have the mesh for the book pages. Copy the pages and mirror the object along the X-axis. Now you have all the pages in a book. However, the book also needs a cover. This is the easist part. Once you have aligned the twi halves of the book, make a spline like this:
Create a spline like this.
The next and final step is to extrude the spline. Make sure the lenght covers the book. And that's it. Add brass corners or whatever you want to make it look even better. This is a very quick way of showing how to make a book, and you probably want to do some changes and personal twists. Next step now is to make the material for it.
A book needs something in it. Without text, it's hardly an interesting book. If you make
a book in MAX, of course you will have to add the contents you want yourself, but there are
a few things you want to keep in mind when mapping it. For instance, here are two maps
I will use for the left and the right side of this book (scaled down):
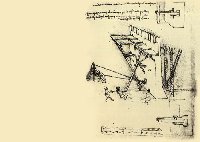
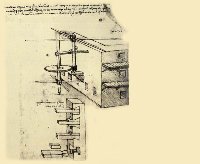
The pages I will use. These are sketches by Leonardo Da Vinci which i found on the internet.
The difference in height is not imprortant here.
The important thing to notice here are the empty areas on the pages. These are 'buffer'-zones, to make sure that page graphics is only visible at the very top, not down the sides. Remember that MAX will tile the material (if you don't turn that off, which will bring on other problems), so that the graphics would also be applied to the uneven edge we created earlier. Make two different materials with the two bitmaps you want to use, and apply them to their respective pages.
The tricky thing is the mapping coordinates. Add a separate UVW Map to each of the page objects, and on both of them, rotate the gizmo 180 degrees around the Z-axis when you view them from the top viewport. This is to align them correctly, not upside down. Next, remember that we copied and mirrored the pages? This will also mirror the mapping coordinates, so you will have to rotate the gizmo 180 degrees around the Z-axis when viewed from the front viewport.. Next, move the separate gizmos to align the page graphisc the way you want it:
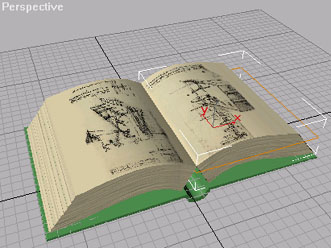
Here is a shaded view of the book.
And that's it! These are the basics of it. You will have to add brass corners, backs or whatever you want on the book yourself. This can easily be achieved with lofting and/or extruding, and shouldn't be too difficult. Here is very quick scene where I use a book modeled this way:
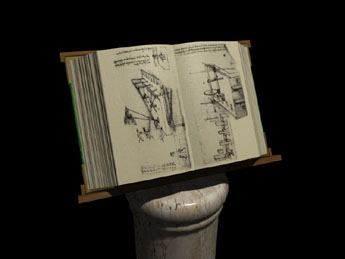
A very quick scene with a book modeled with this technique.
|
Politica de confidentialitate | Termeni si conditii de utilizare |

Vizualizari: 1308
Importanta: ![]()
Termeni si conditii de utilizare | Contact
© SCRIGROUP 2025 . All rights reserved