| CATEGORII DOCUMENTE |
| Bulgara | Ceha slovaca | Croata | Engleza | Estona | Finlandeza | Franceza |
| Germana | Italiana | Letona | Lituaniana | Maghiara | Olandeza | Poloneza |
| Sarba | Slovena | Spaniola | Suedeza | Turca | Ucraineana |
Y Axis
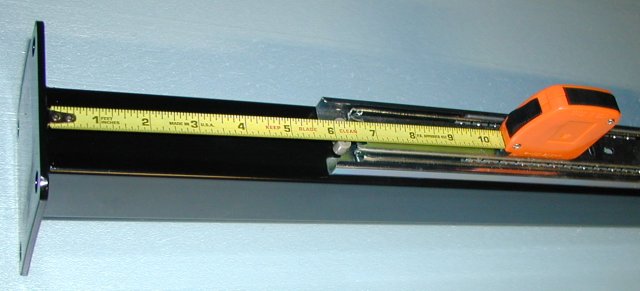
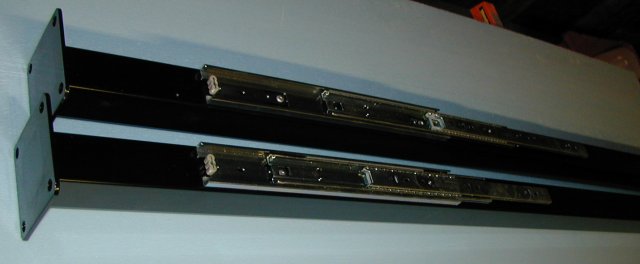
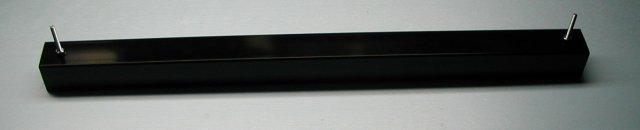
Here I am building the two Y posts. The
posts can be found at the fence section at Home
Depot
Got
two 16' drawer slides
Here is the Home Depot Catalog number for 24'
slides made by
7-81266-18070-4

And two 4 foot stands

The above picture is of the 2'x4FT Post with foot - that's the Home Depot
name
Cat num: 204-008
Home Depot num: 6-39426-48607-7
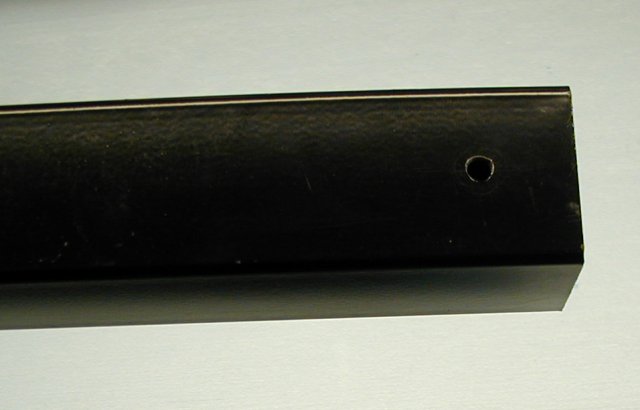
6' from the base
Mark both holes
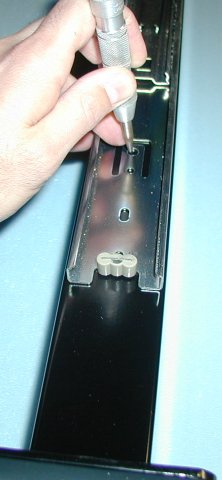
Now the 2nd one
Drill the two holes
Place the rivets
Use the River gun - make sure that no dirt will reach the bearings !!!
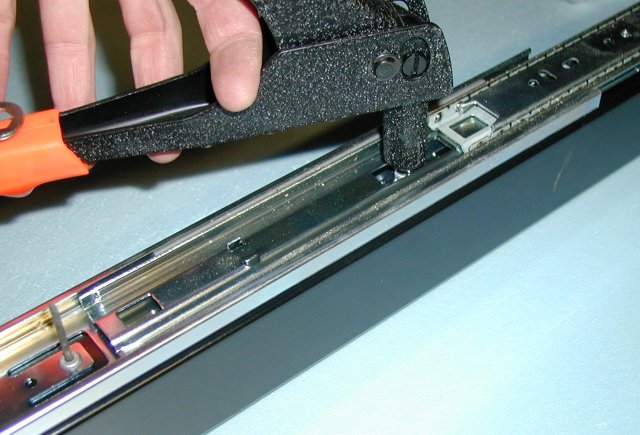
And now do the same for the other stand
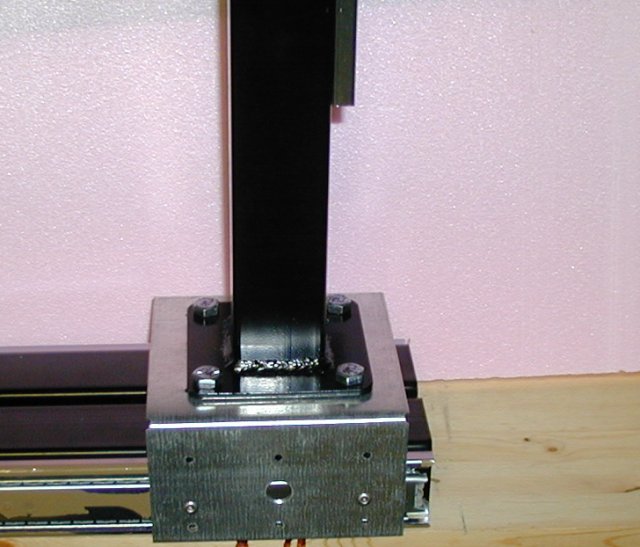
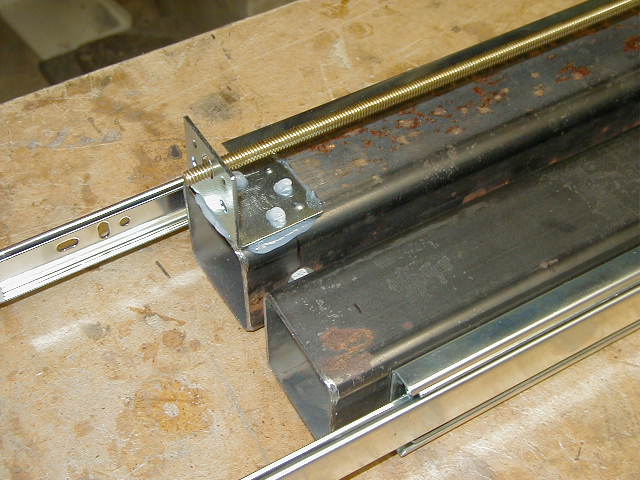
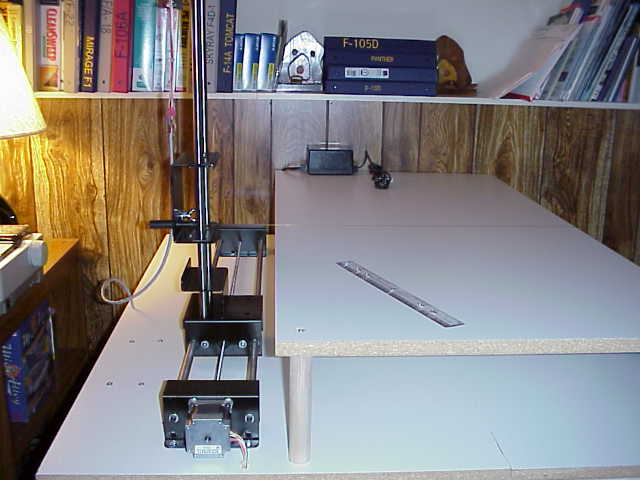
X
Axis
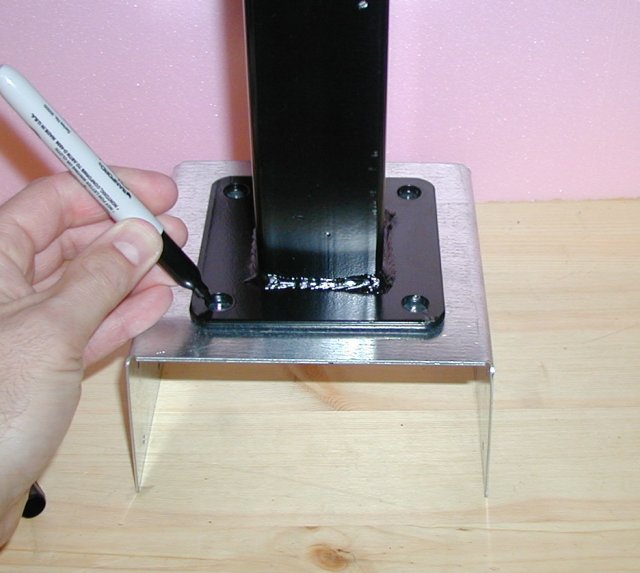
This will hold the Y axis stud.
Here is the Home Depot Catalog number for the part below:
'Half Base' made by Company named Simpson
Catalog number : C751-973
Home Depot num: 044315-10350
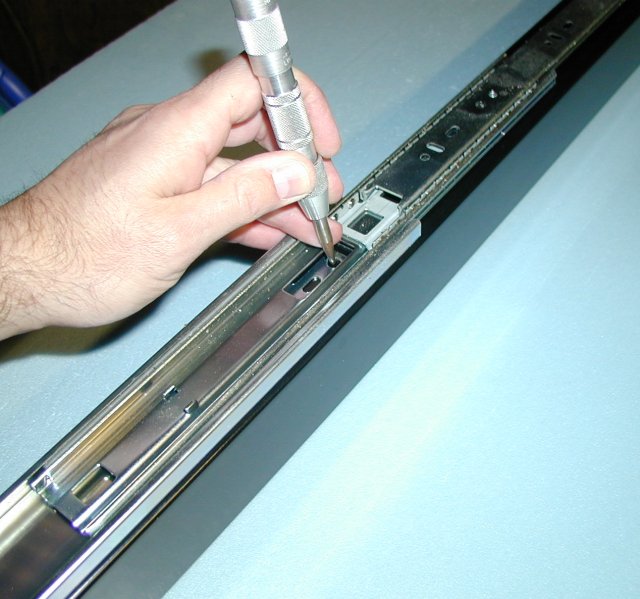
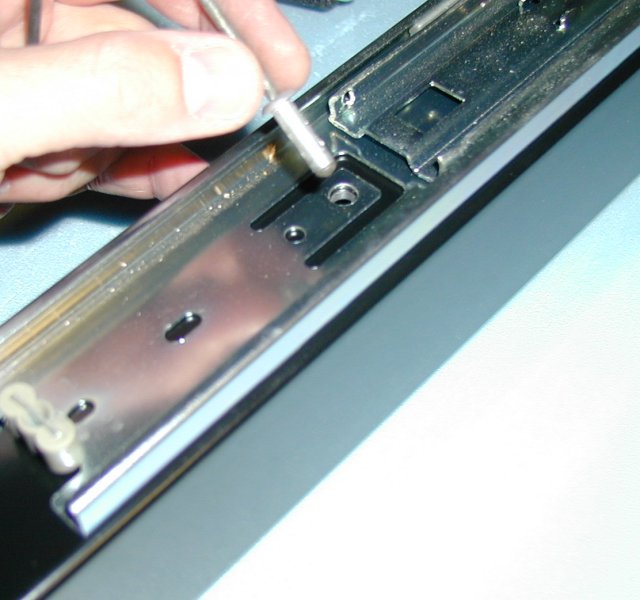
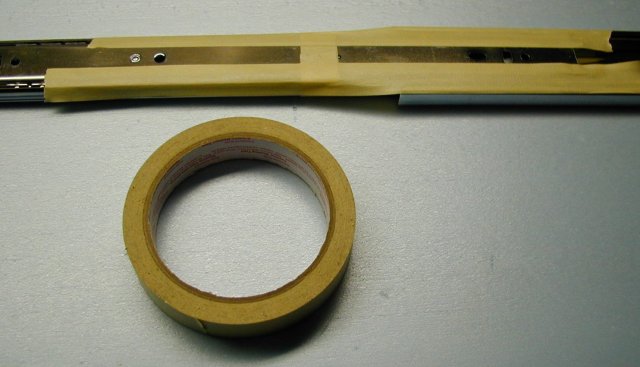
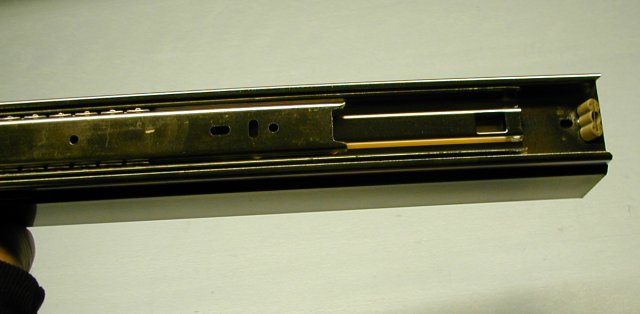
Now drill the 3 holes on the slides (24' slides)
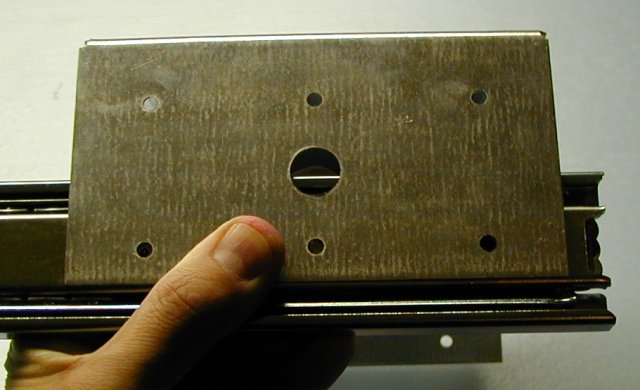
Put something on the slides so no dirt will reach the bearings - This is very important !!!!!

Mark the 4 holes for the Y axis
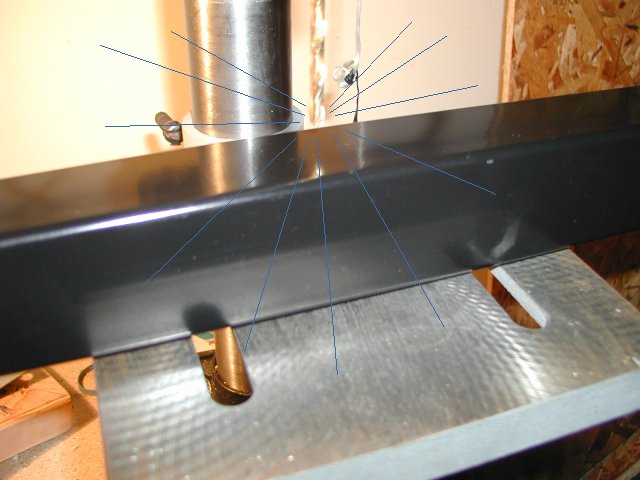
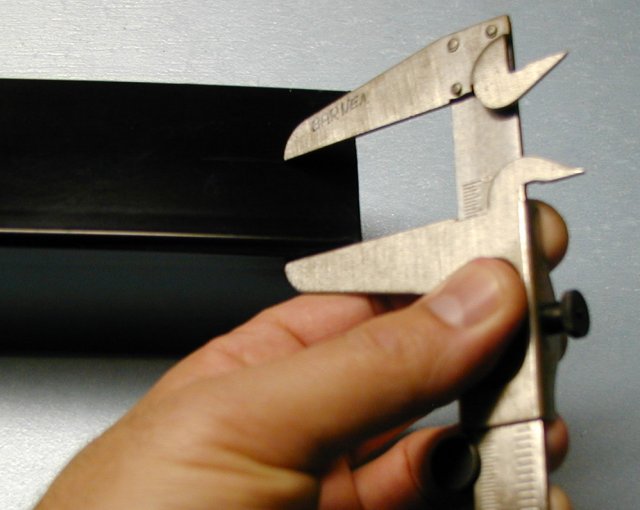
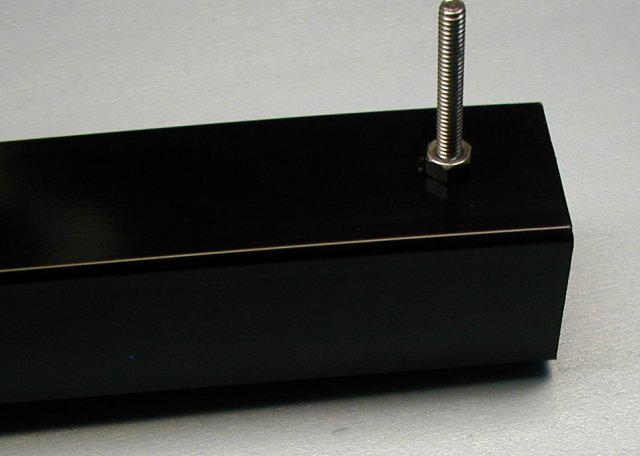
2x25' studs, measure 1' from the edge and 1' from the side and drill the holes
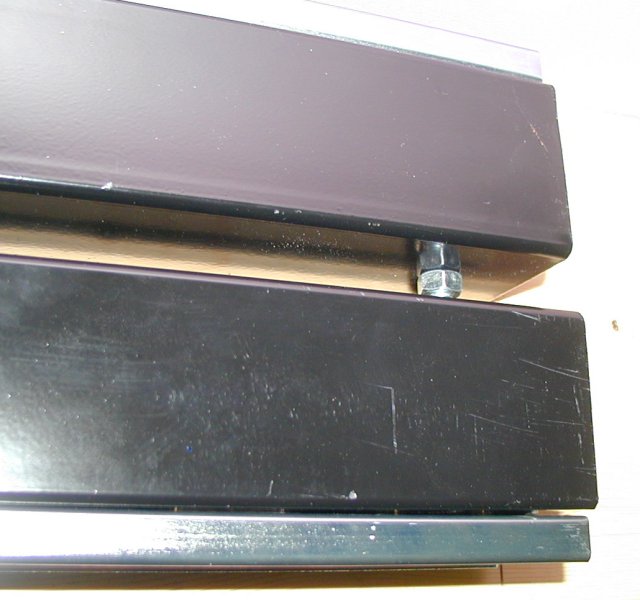
Place 2 screws - these screws will hold the two studs together.
Connect the slides to the studs (take a look at Day 1 for more info)
A closer look
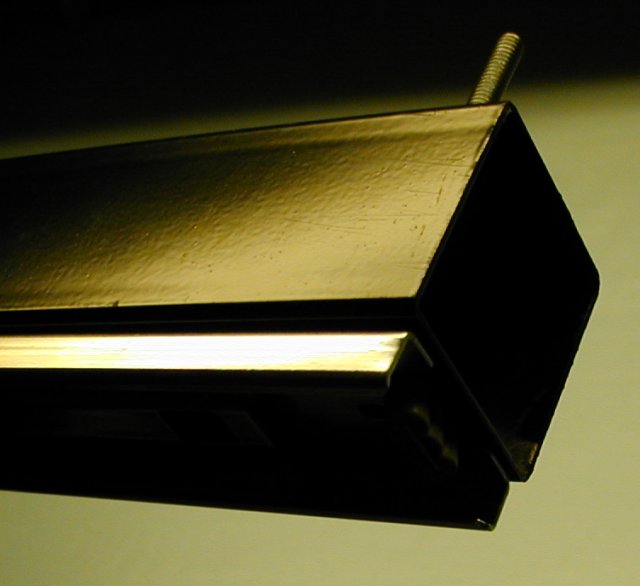
And another one
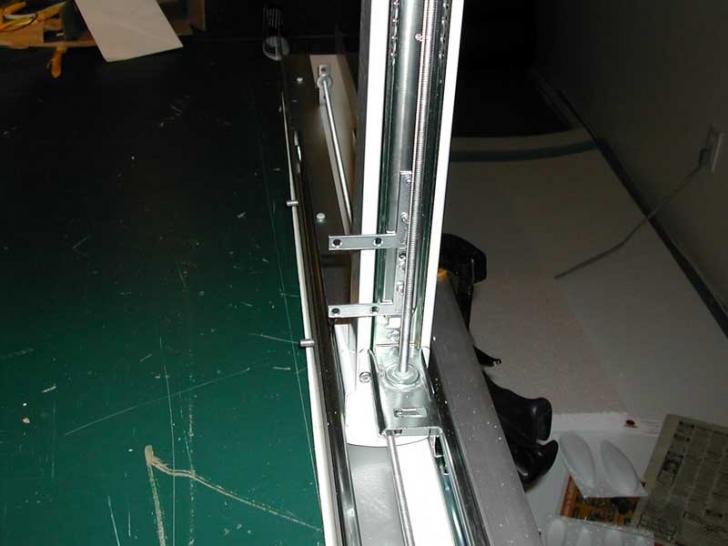
The two studs connected together (at the bottom you can see the slide)
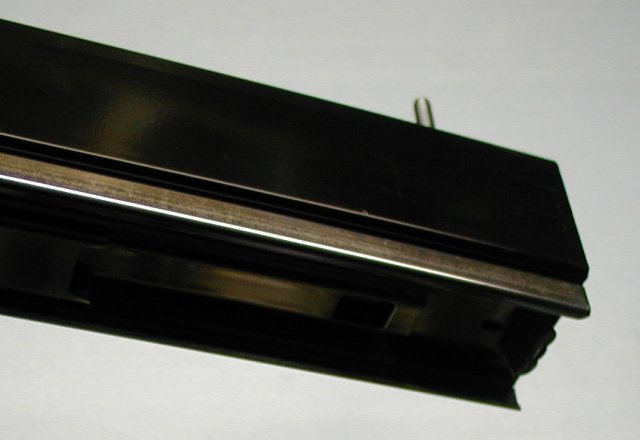
Connect the top part to the slides
Another look

And you are done
Now make another unit just like it - there are two of these in each machine.
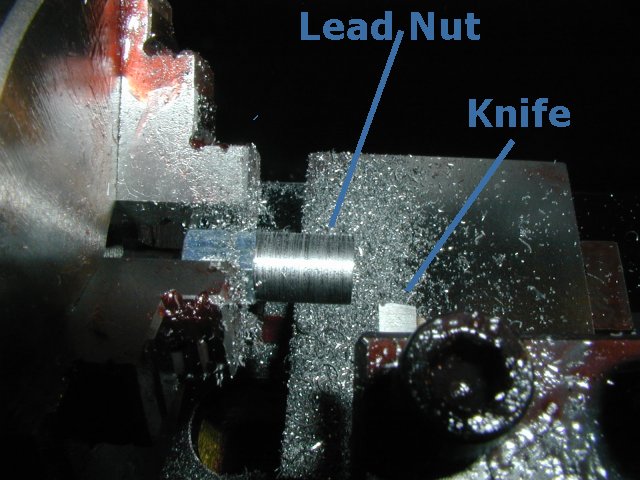
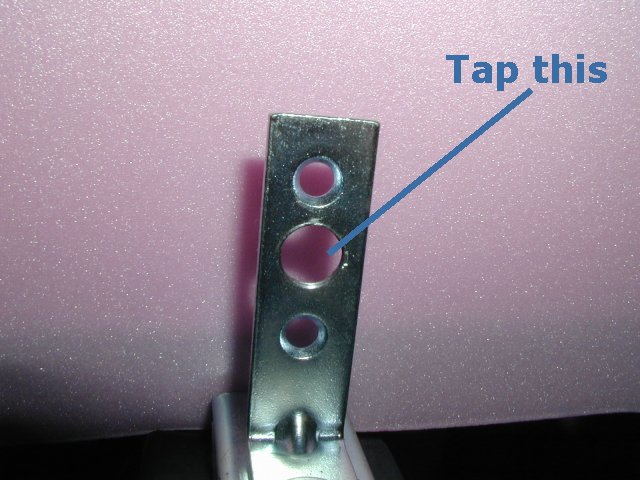
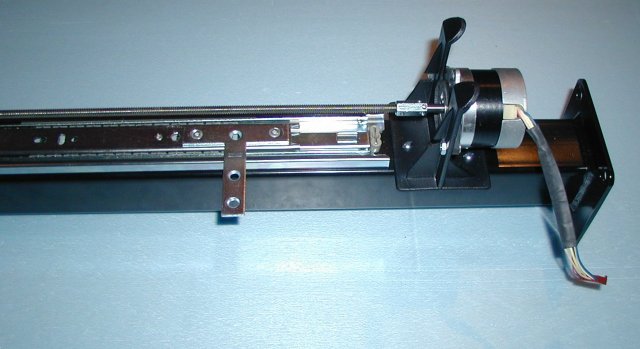
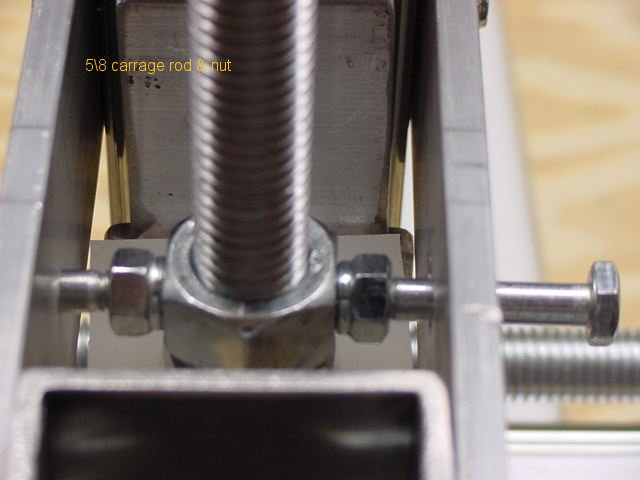
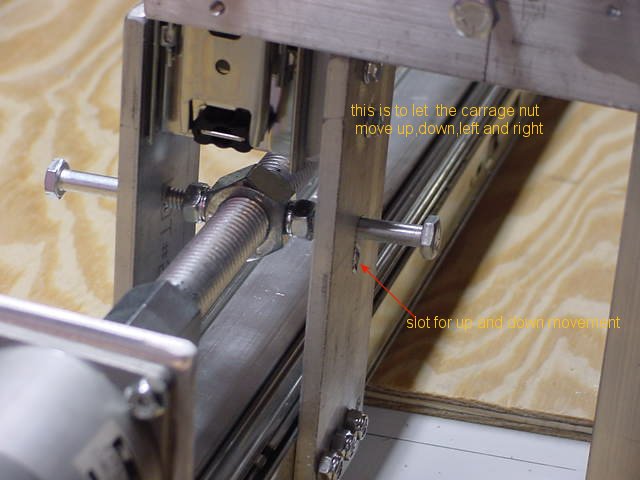
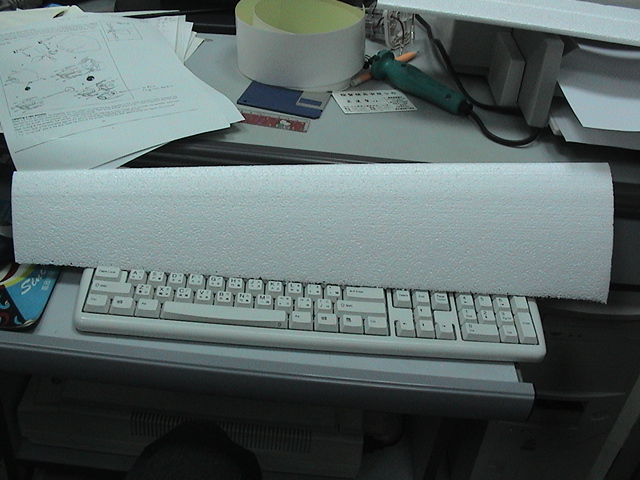
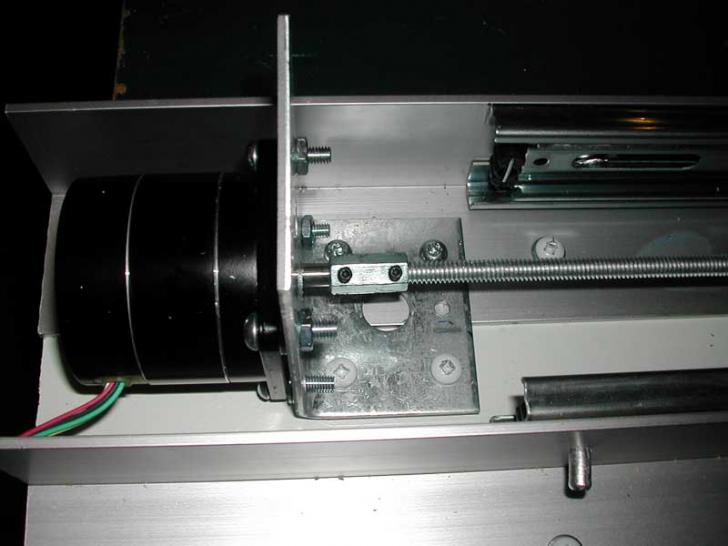
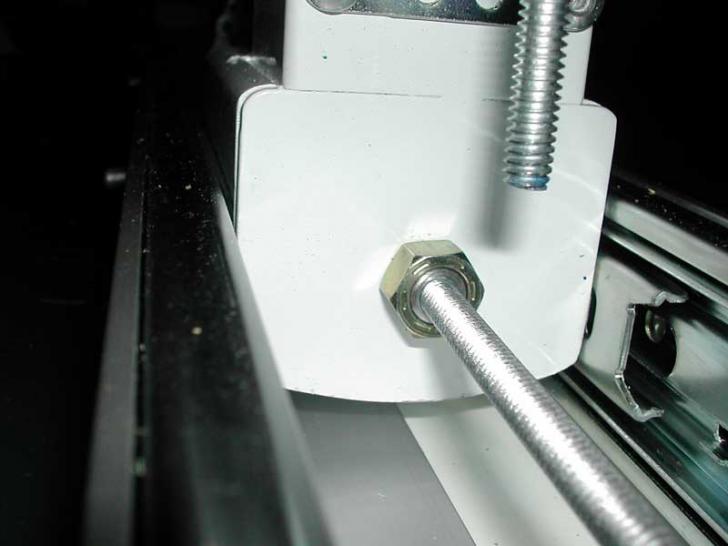
Lead Screw and the Lead nut
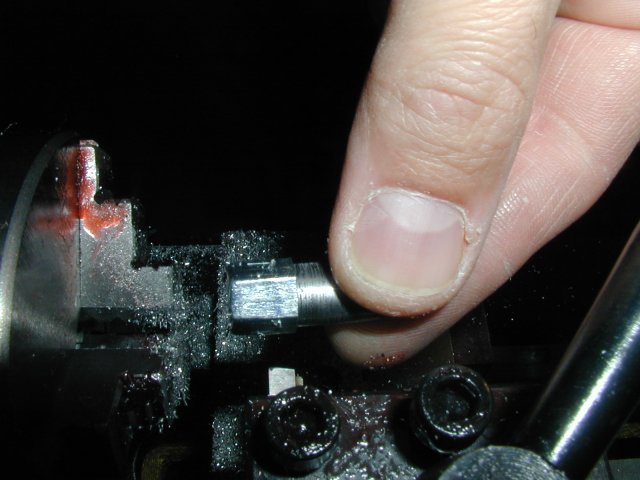
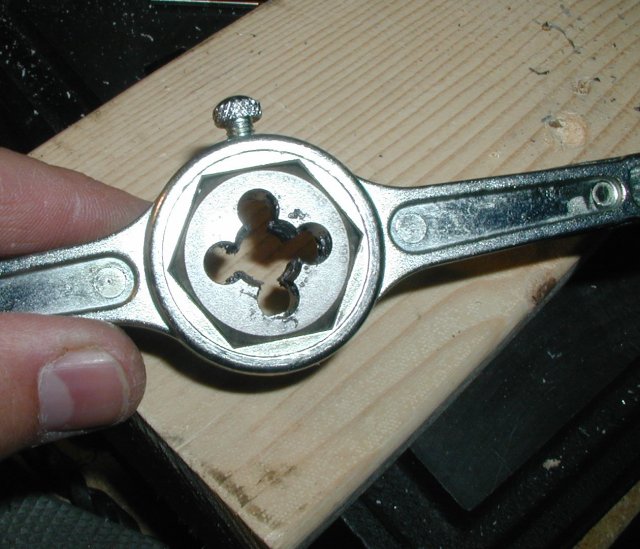
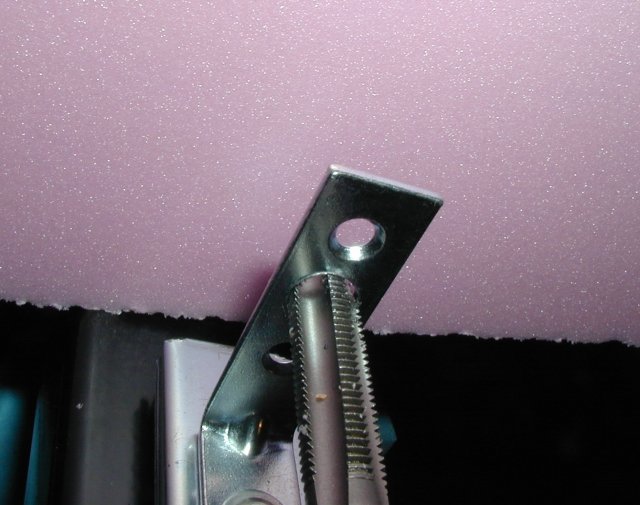
For this section, I used a lathe and a set of tap and die.
There might be ways around, but I chose to go the safe route.
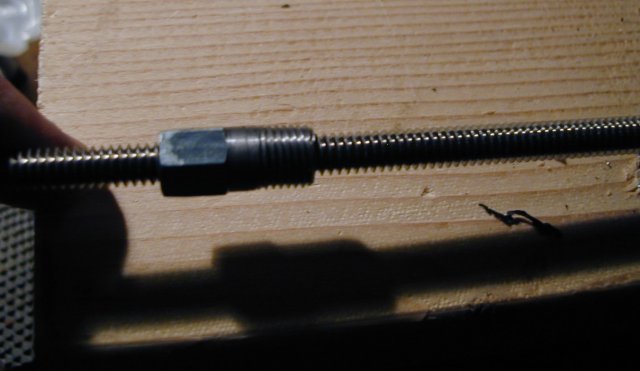
Lead Screw : Stainless Steel preferred
Threaded rod USS/Course Stainless steel
1/4' x 20 x 36'
Home Depot catalog number : 0 30699 48000 5
Lead
nut:
1/4' x 7/8' Home Depot Catalog number: 0 30699
19116 1
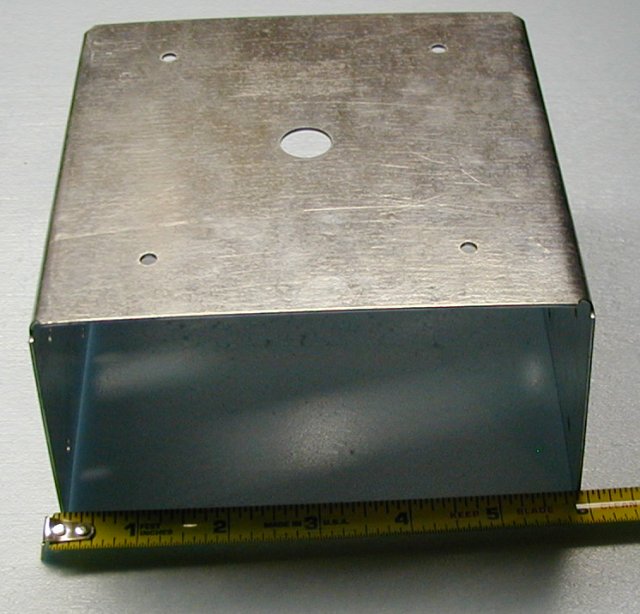
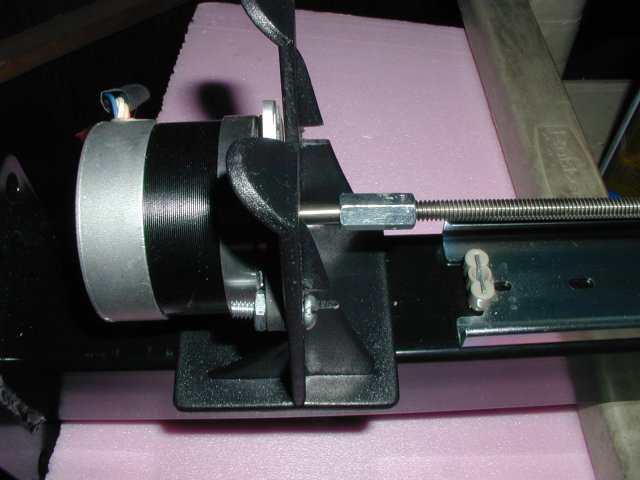
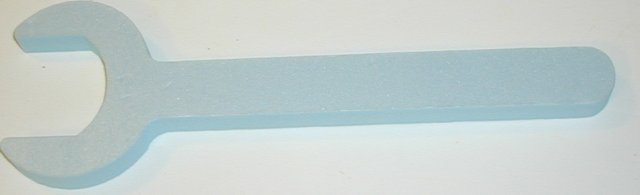
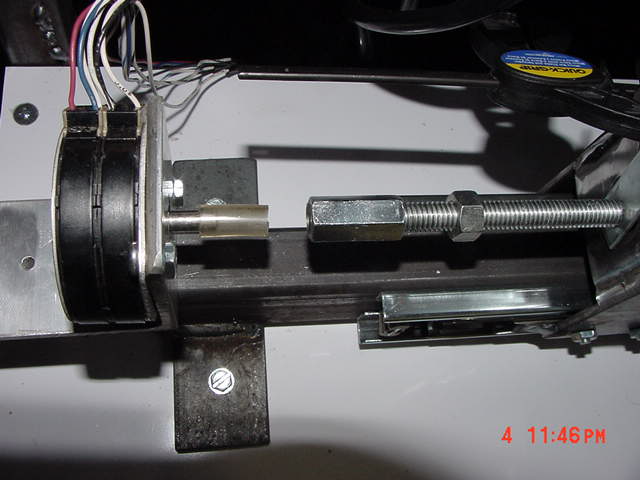
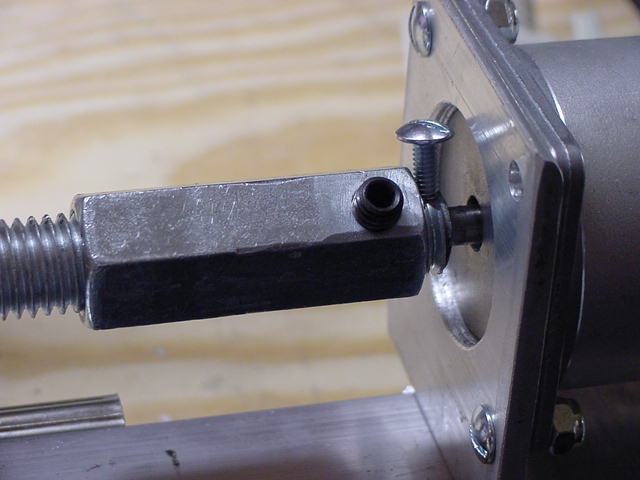
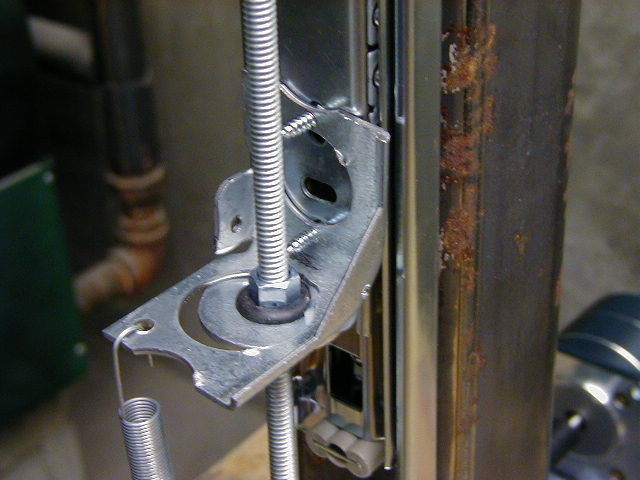
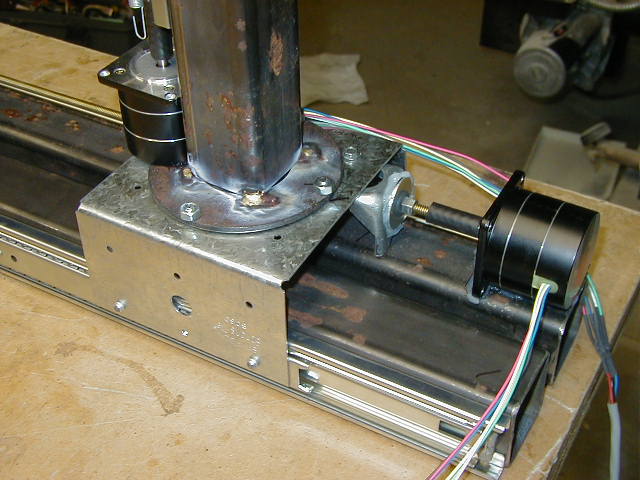
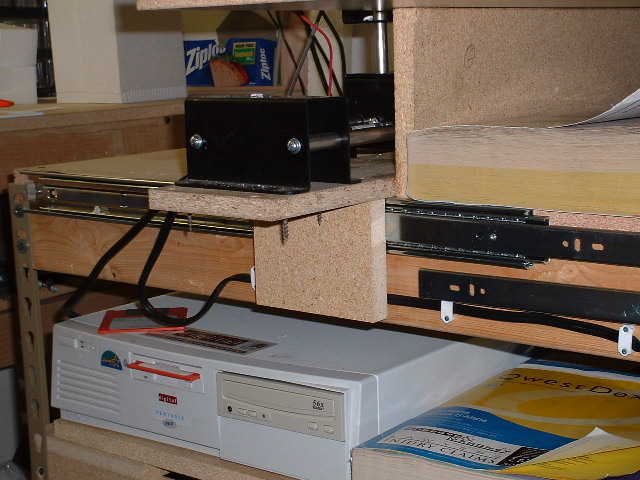
Here is what I used for a motor mount:
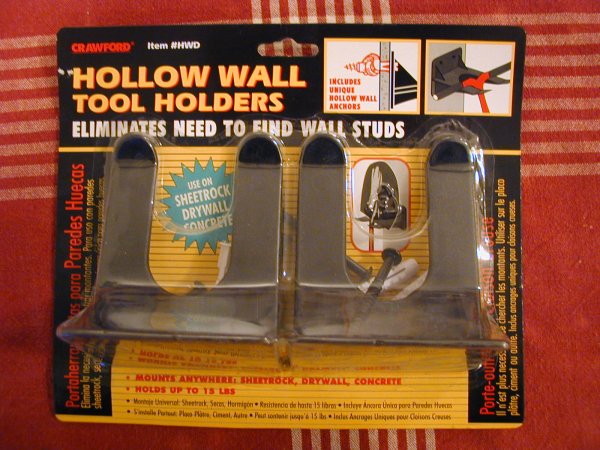
Barcode
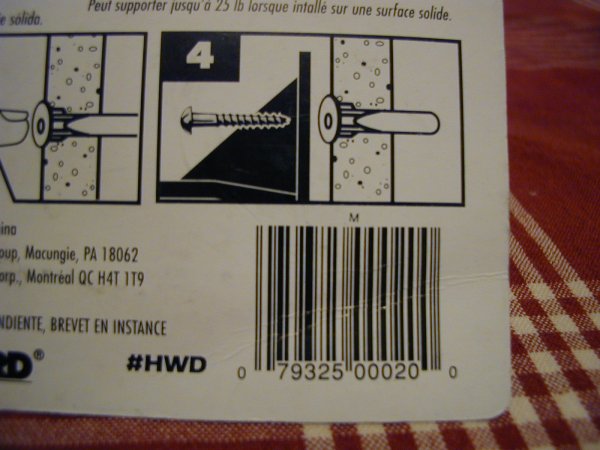
Made out of plastic - easy to saw, drill and strong enough for any NEMA 23 motor
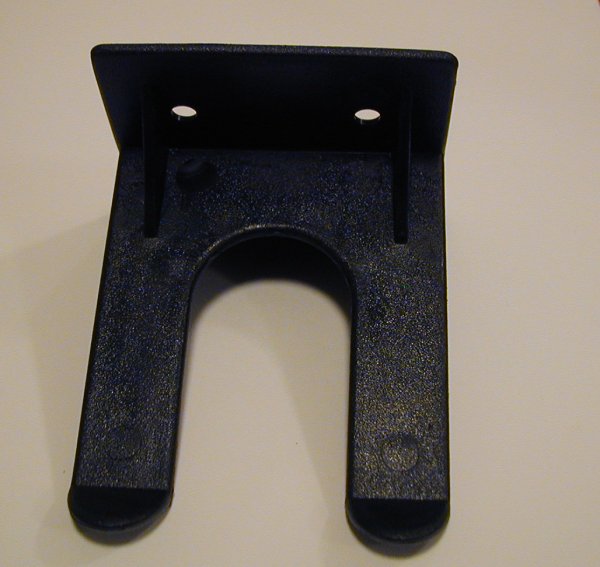
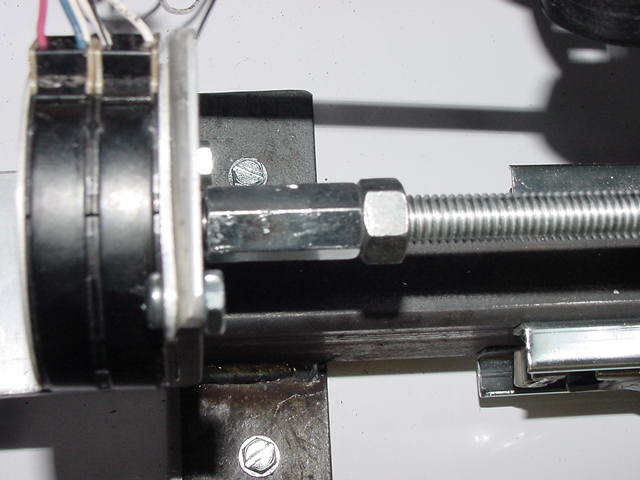
Why
use plastic ? Plastic is forgiving, if for any reason
the motor shaft and the lead screw are
not perfectly aligned, the plastic mount will bend a bit and the wobble will
not be
noticeable on the cut
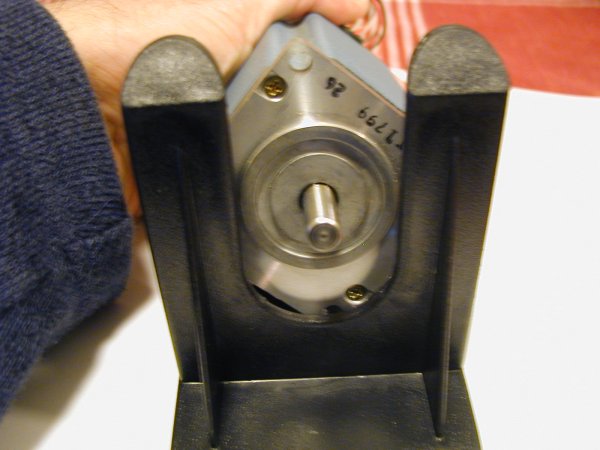
No explanation needed
Another look

And another one
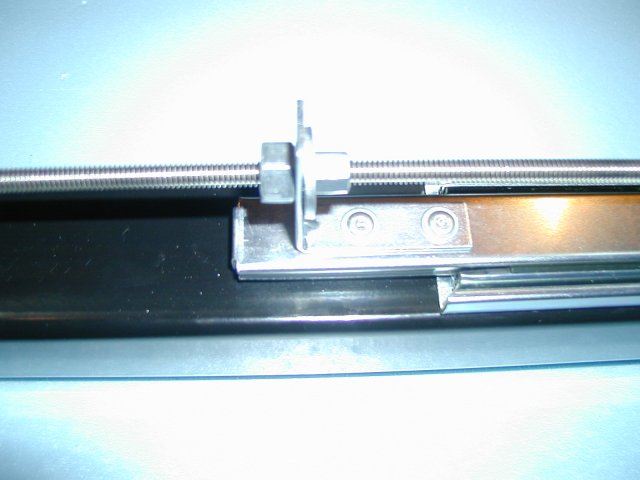
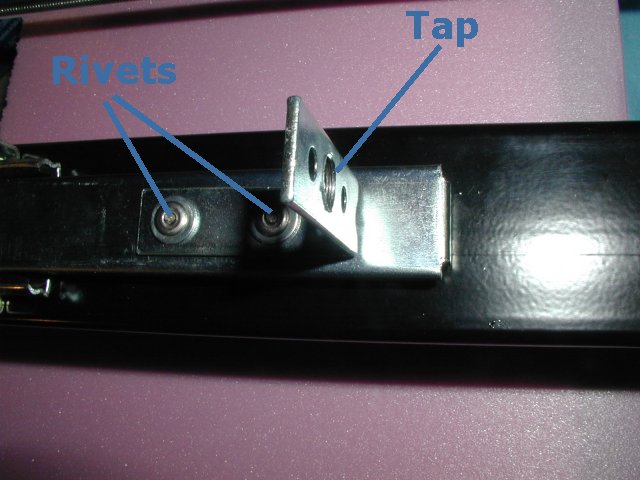
Use rivets to hold the lead nut in place
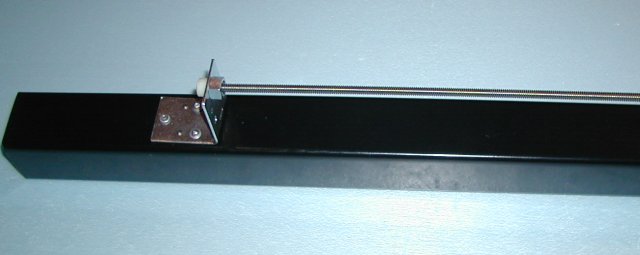
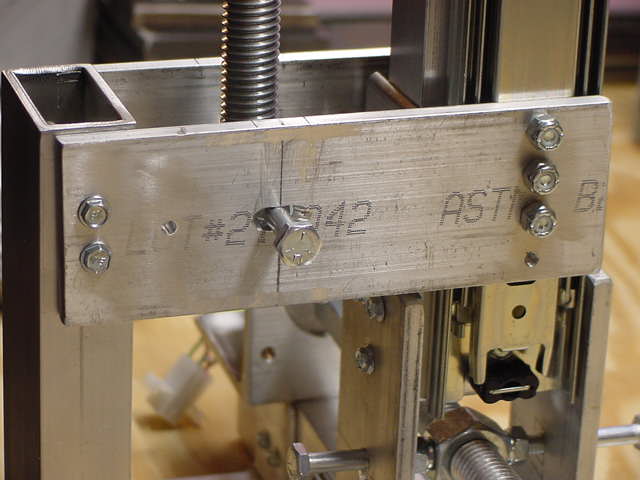
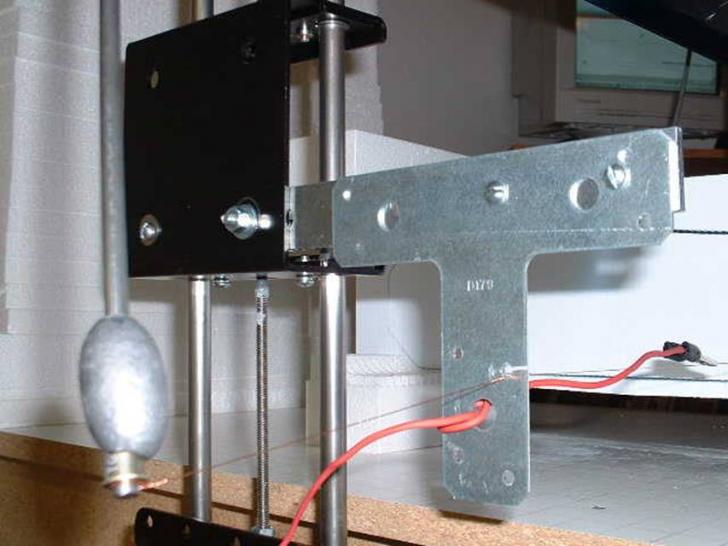
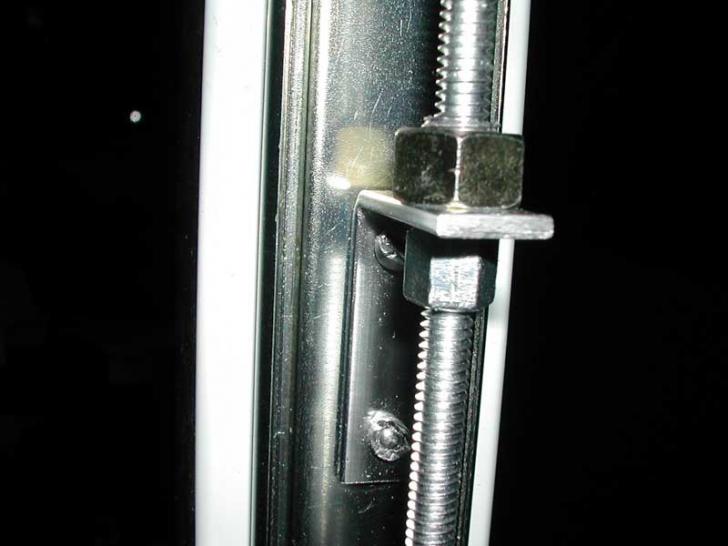
Top end
The top end
So
this is how it should look !!!!
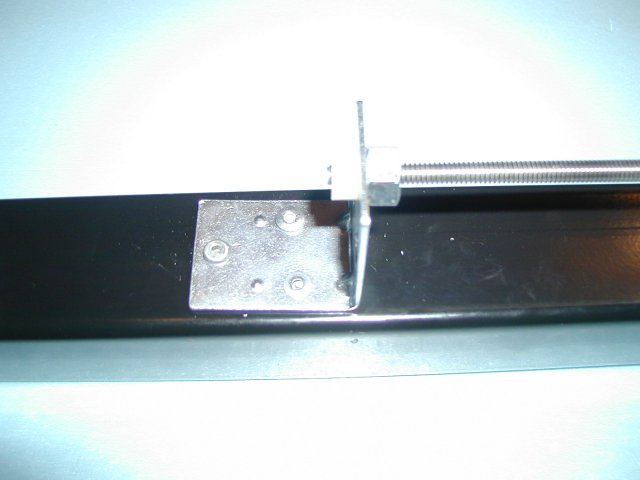
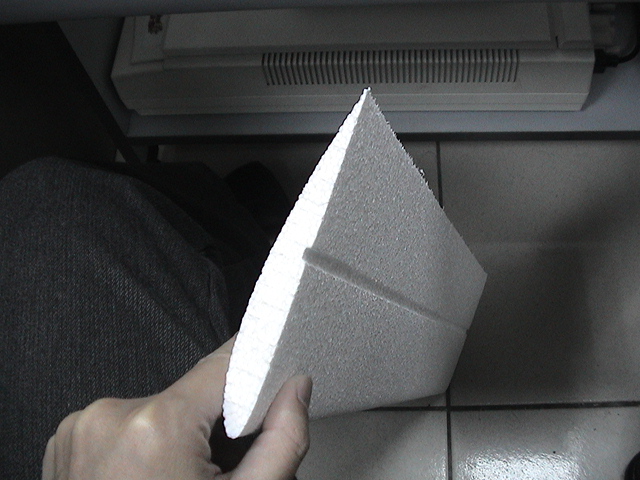
Now, make another one just like it, but mirrored.
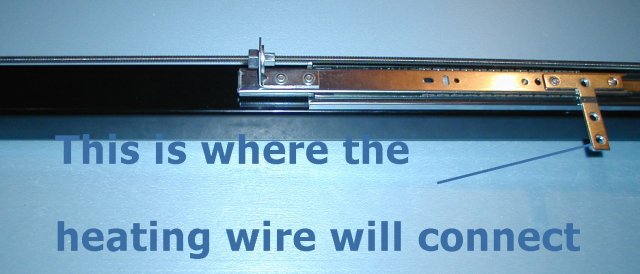
The last picture on this page shows that the two 'T' brackets are
facing each other
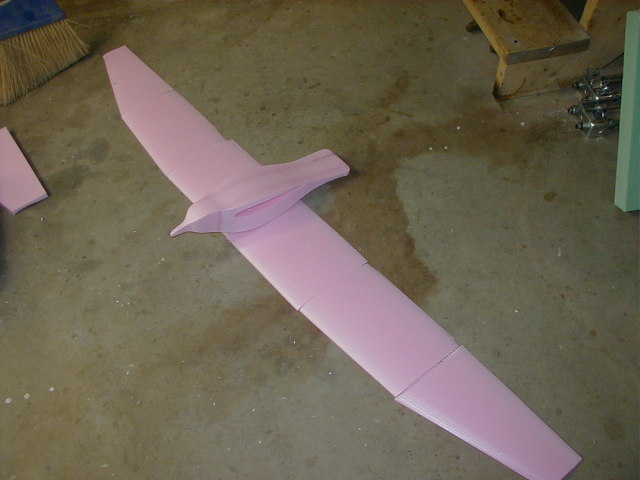
This is where the hot wire will connect. For those who wish to mass produce
wings
simply add one or even two more 'T' brackets and you can cut 3 cores
at a time.
Thanks for the correction Steve :)

Click here for our online store - CNC parts
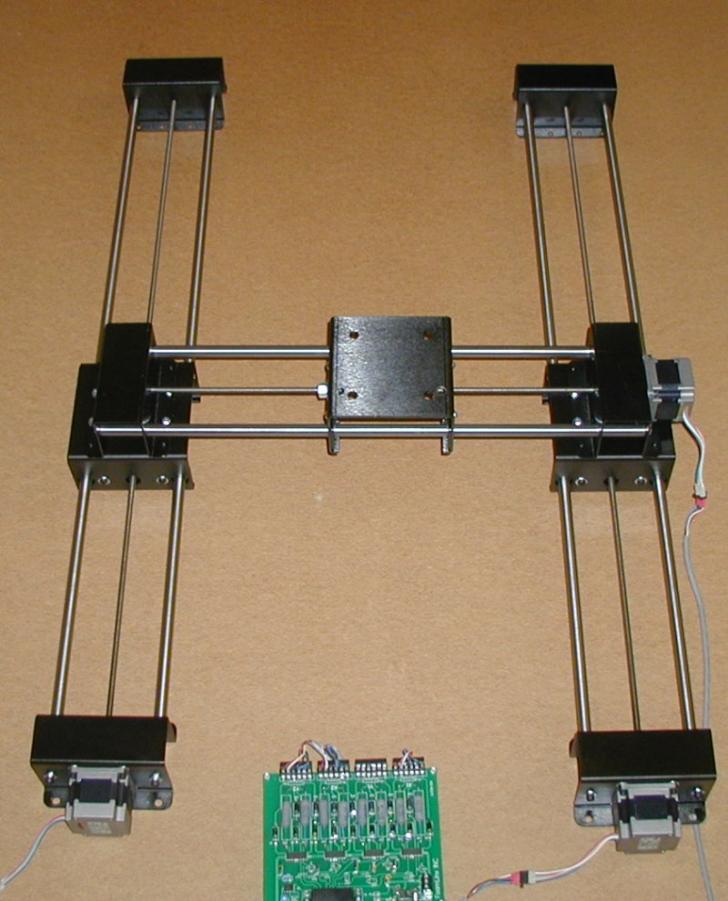
Now lets put it all together
The
electronics
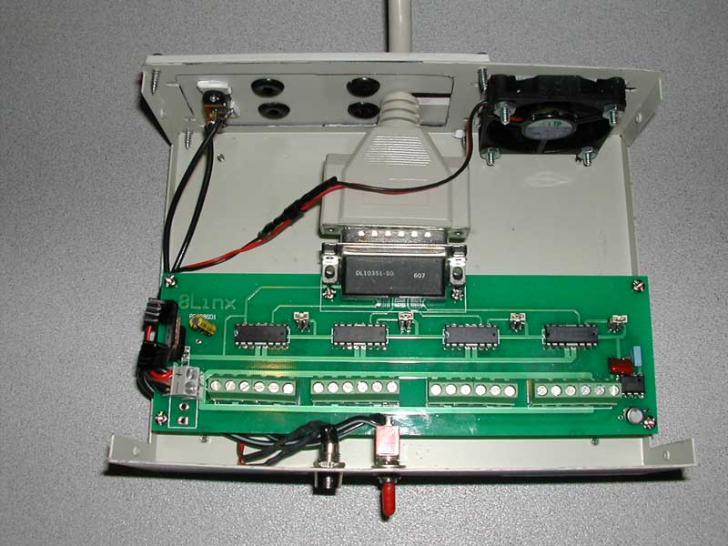
PCB (Printer Circuit Board) design and assembly
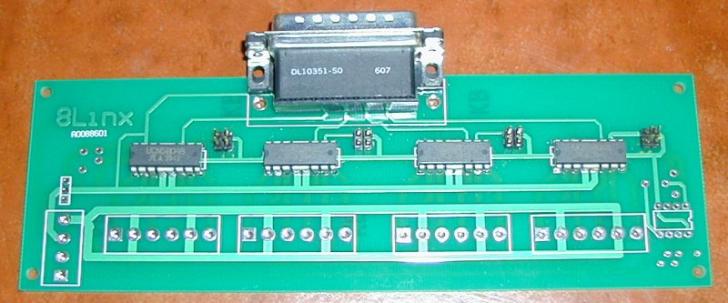
Component side with printer cable connector and stepper motor drivers soldered,
the 4 four pin connectors on the top right side of each stepper motor IC are
full step/half step. In order to operate the board in half step mode,
connect jumpers on the top two pins.
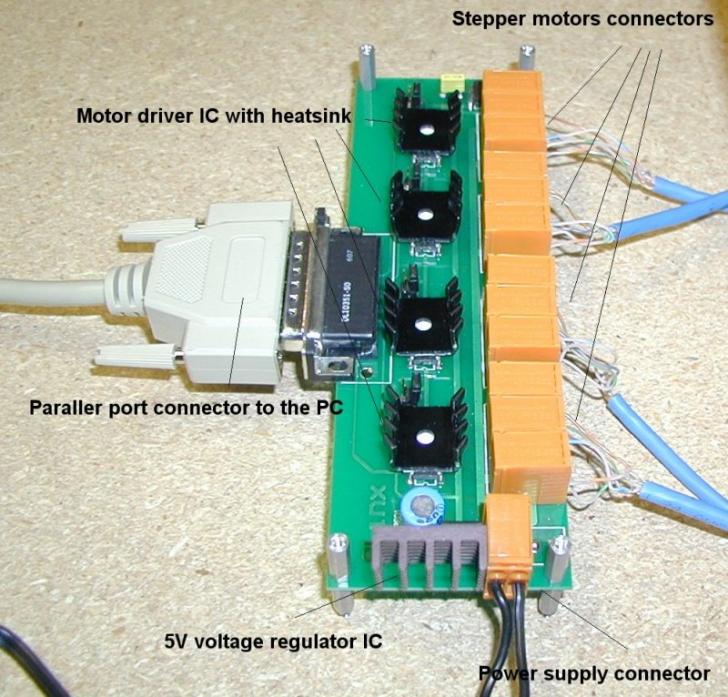
A larger picture for more detail. You will also need a
simple Parallel port cable - just make sure its pin to pin cable
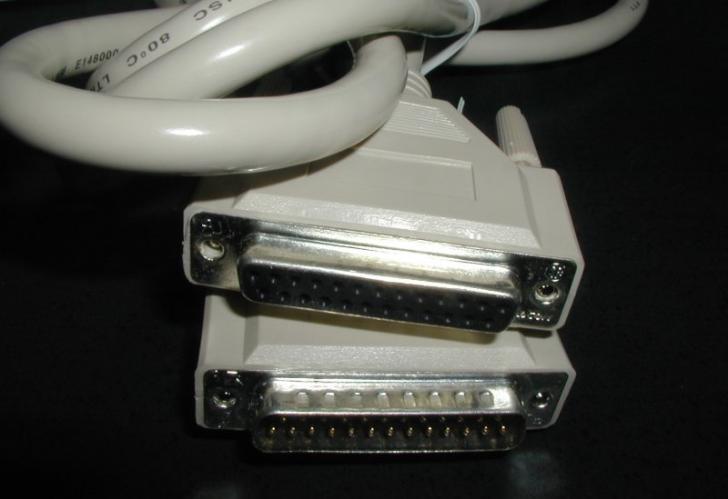
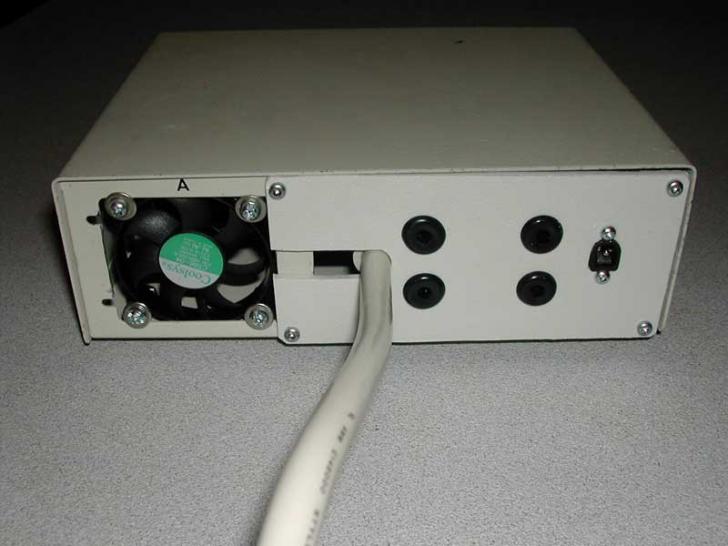
The cable - D25 male to D24 female pin to pin connection
We no longer sell the
boards and motors.
You can find controllers and motors at HobbyCNC.com
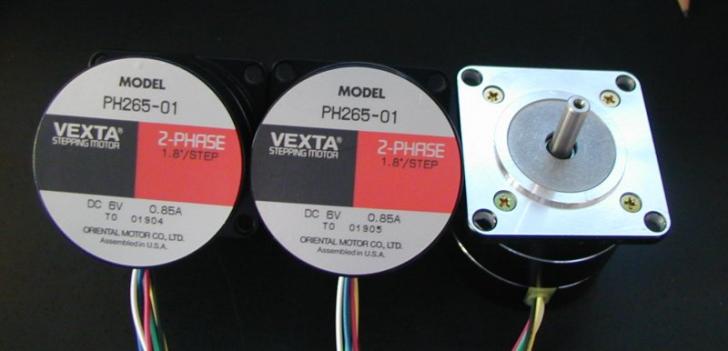
Motors
are 5V or 6V or 12V Unipolar
stepper motor rated at about 1A, they can be found at most surplus stores
Here is where I got mine: https://www.allelectronics.com.
At the moment they are not available but check from time to
time for availability. Make sure that if you use a 6V motor - then use a
6V power supply.
Same with 12V motor - use a 12V power supply (PC power supply will work great
for a 12V motors)
Below is a 6V stepper motor that I use on the machine.
The stepper motor drivers are Unipolar stepper
motor drivers which means the motor has two main coils
with a center tap for each coil, in other words stepper motors which have 6
wires.
Here is a link to the most popular drivers from Allegro Micro - https://www.allegromicro.com/datafile/5804.pdf
The stepper motor ICs must get 5VDC, and if you
plan to use motors that are not 5V, you will have to
use a 5V voltage regulator shown with a heat sink on the large picture.
A simple 7805 can be used for that. Can be found in any
electronics store.
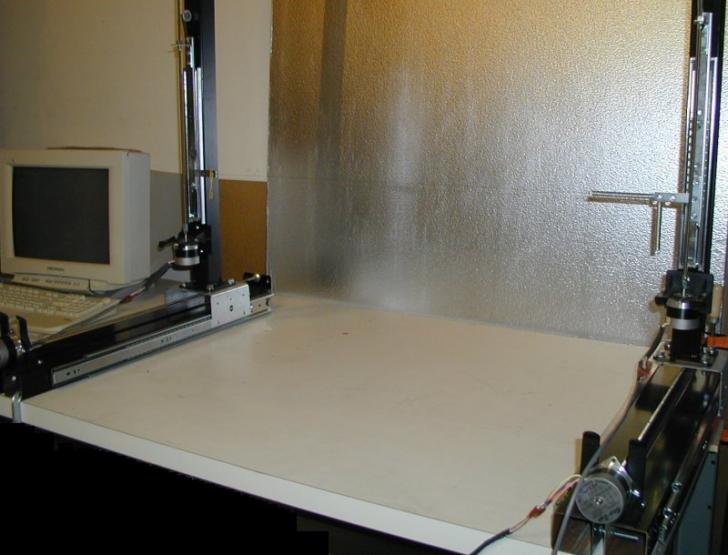
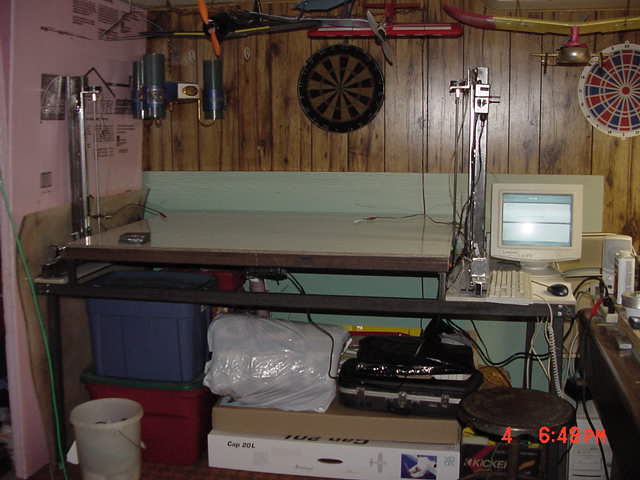
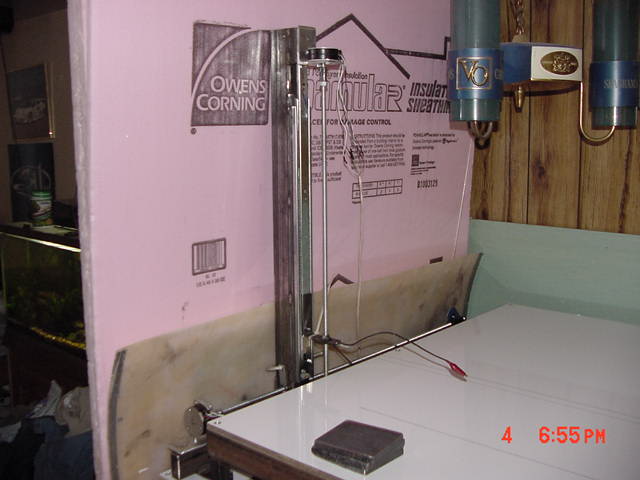
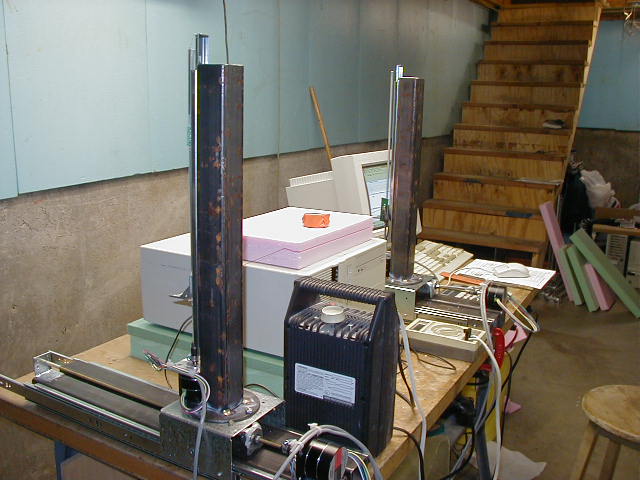
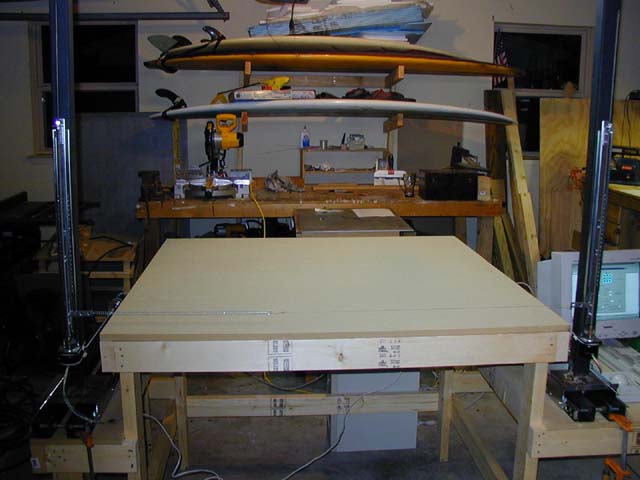
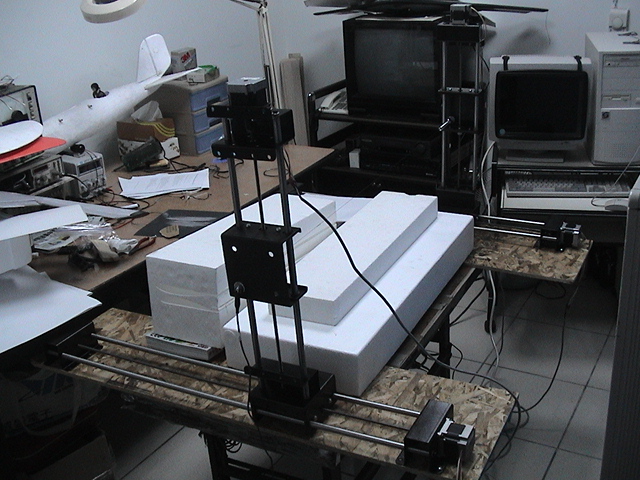
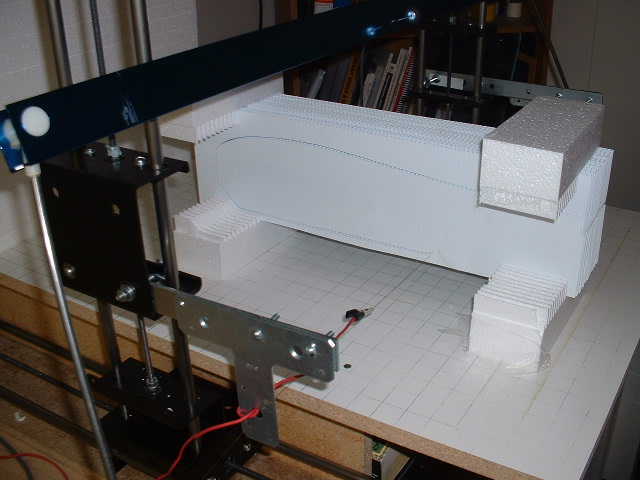
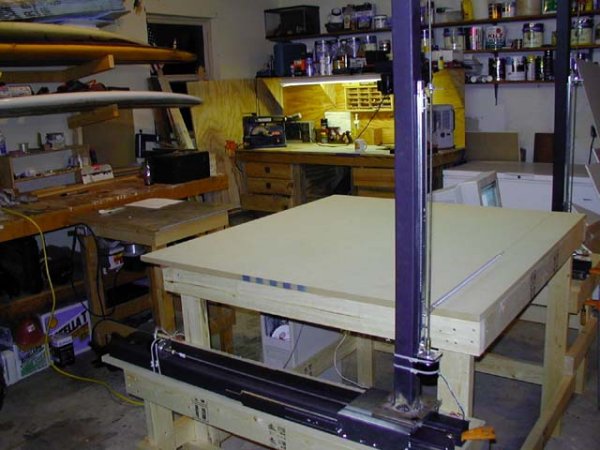
Putting it all together
Put it all together and test it
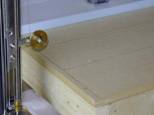
Table all ready to go. Clamp down both axis, one shown
on the bottom left side.
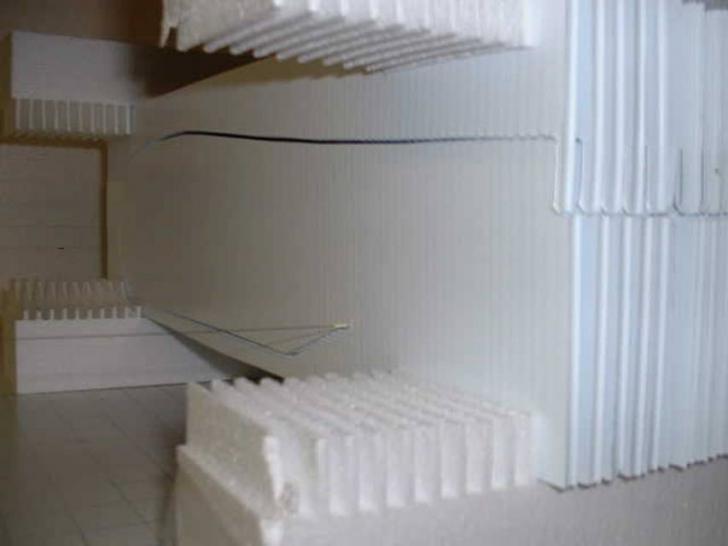
I use strong spring to keep the cutting wire tight. The spring also keeps the
wire tight when cutting a tapered wing.
You can get the spring in your local Home Depot. On some designs I have seen
people using a bow instead of the
spring design. I got better results with the spring, but feel free to
experiment
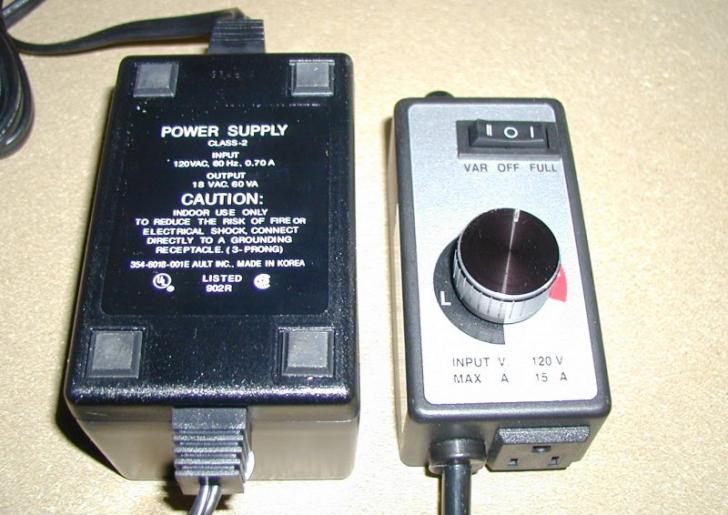
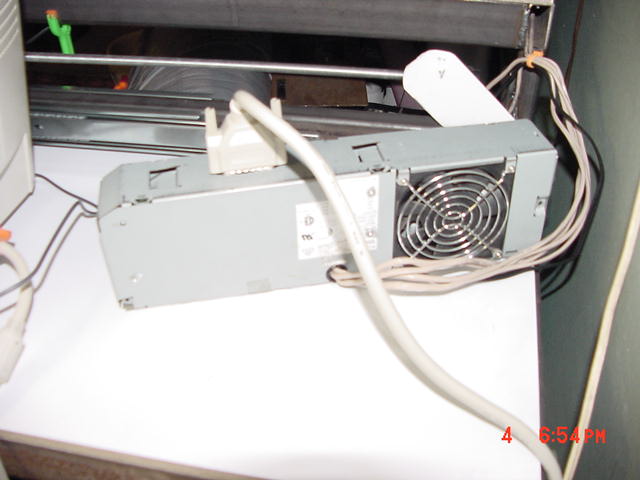
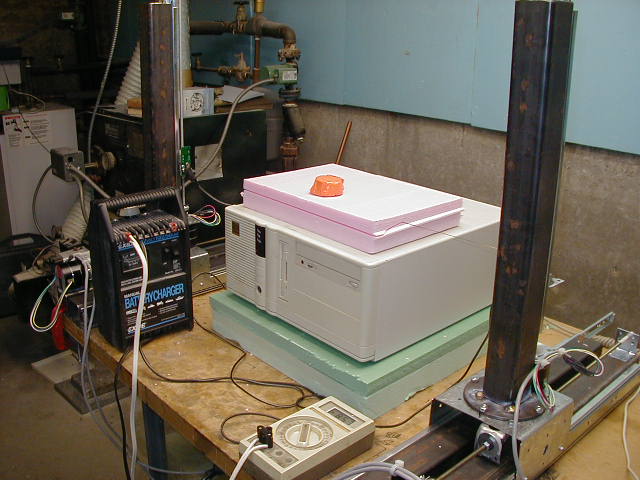
Here is a setup which I also use on my foam cutting
bow. The router speed control can handle up to 15A
And the power supply can supply up to 3.5A which is
more then enough current for a 30' wire. (about
1.5A)
The low voltage power supply is used to isolate the main voltage (110V) from
the cutting wire.
The
software I use is: https://gm.cnc.free.fr/index_en.html
This software is the most popular foam cutting controller software, and
also not to expensive (about $32)
It will control up to 4 motors and let you cut tapered wings and other shapes,
take a close look at the site
There is a lot of useful information there, and even a link where people who
built foam cutting CNCs post
their pictures.
Here is a
link to a large number of foils
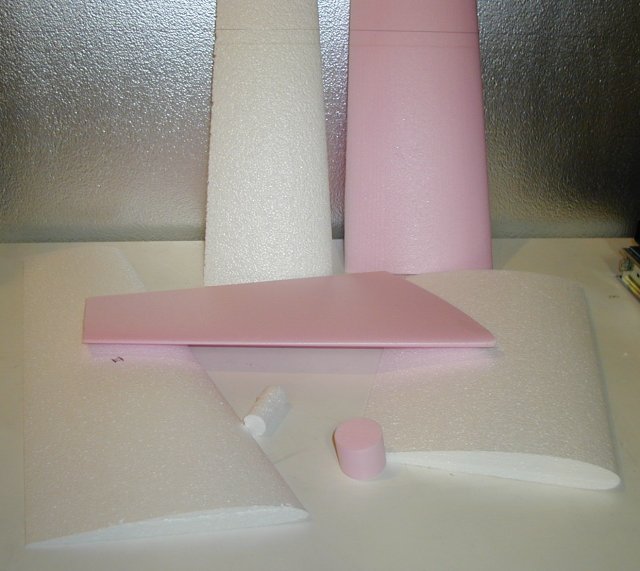
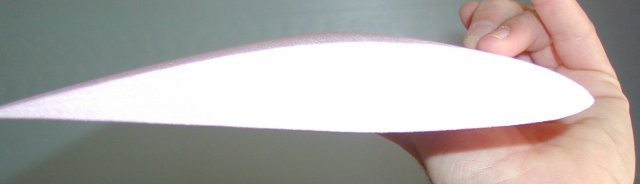
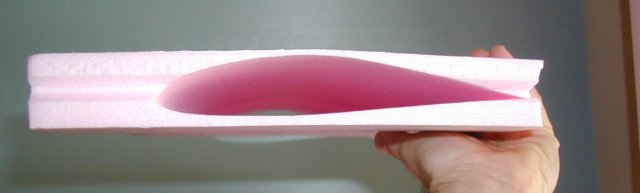
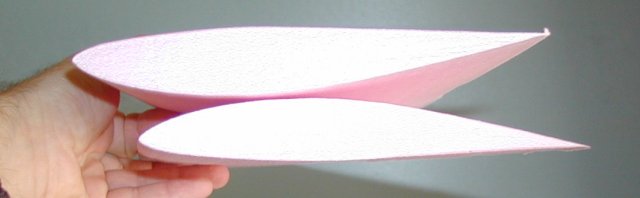
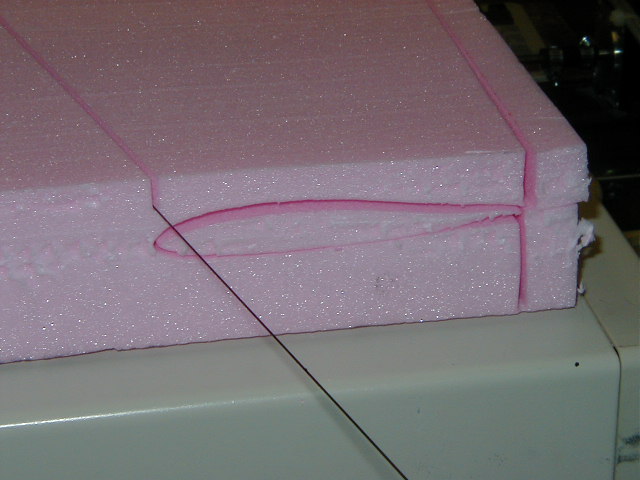
Some
Sample cuts

Questions, recommendations please contact me at
foam@8linx.com
Machine built by Vern

A great idea how to alien the lead screw and the motor shaft

Nice cut !!
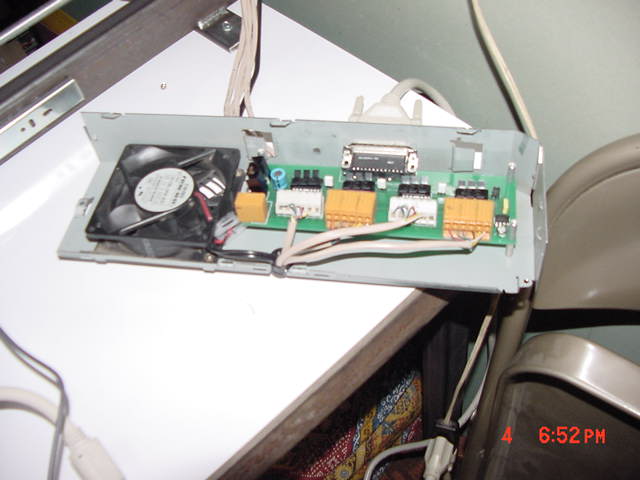
Stepper motor driver board with a fan
Some
more great ideas from Vern

Machine
built by Rick Hallett happl@midmaine.com

Cutter made by Ron Kruse
Some picture from people who purchased our new machines
A
picture from Glenn Corrie
A
machine in
Some very nice improvements done on our machines (thanks !!!)
Machine that Andrew Donatelli built
Here
is an XY plotter/cutter based on the linear slides used in the foam cutter
In the future we plan to
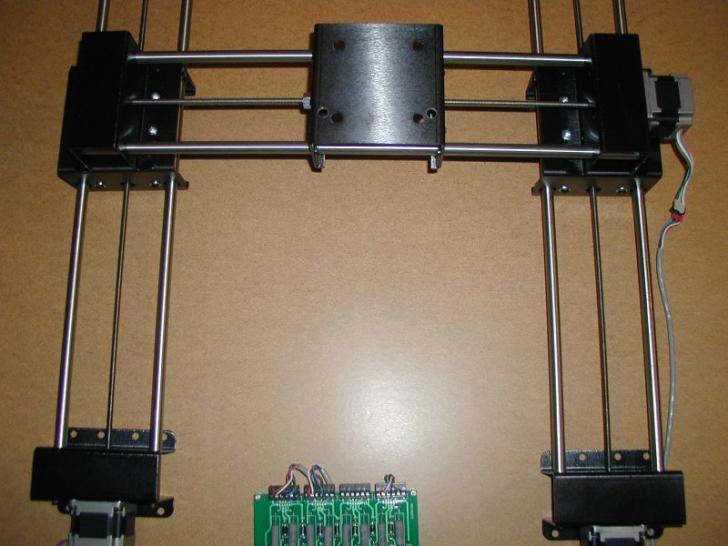
Notice the new stepper motor driver which can support up to 4 unipolar motors.
It is designed to work with most CNC software. The one shown above is from www.kellyware.com
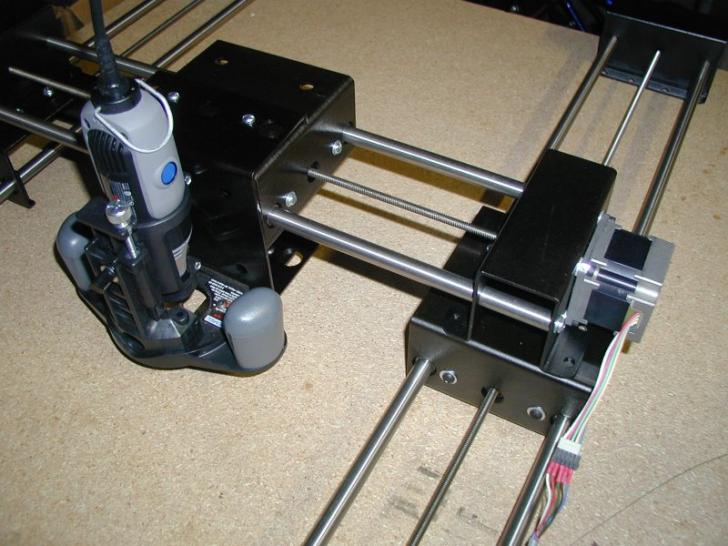
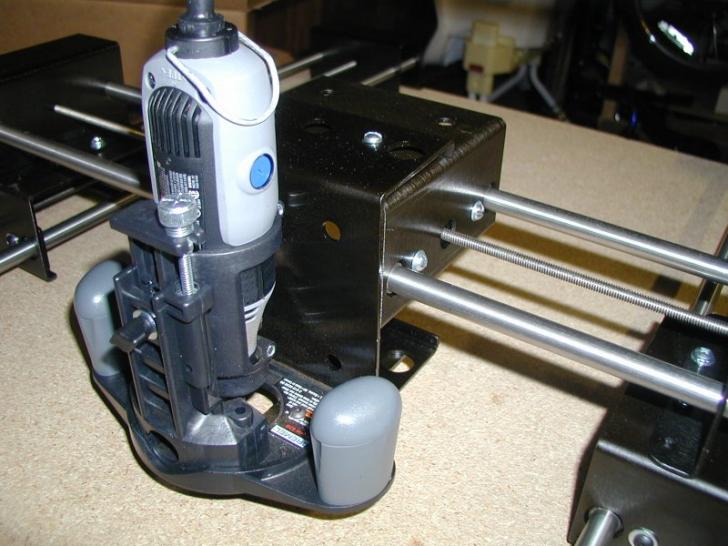
Same
table with a Dremil mounted - Notice that the Dremil Z movement is not controlled by the PC (at the
moment)
|
Politica de confidentialitate | Termeni si conditii de utilizare |

Vizualizari: 6326
Importanta: ![]()
Termeni si conditii de utilizare | Contact
© SCRIGROUP 2025 . All rights reserved