| CATEGORII DOCUMENTE |
| Bulgara | Ceha slovaca | Croata | Engleza | Estona | Finlandeza | Franceza |
| Germana | Italiana | Letona | Lituaniana | Maghiara | Olandeza | Poloneza |
| Sarba | Slovena | Spaniola | Suedeza | Turca | Ucraineana |
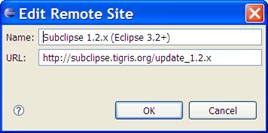
Name: Subclipse 1.2.x (Eclipse 3.2+)
URL: https://subclipse.tigris.org/update_1.2.x
In Eclipse, select File, New, Project.
New Project type is SVN, Checkout
Projects from SVN.
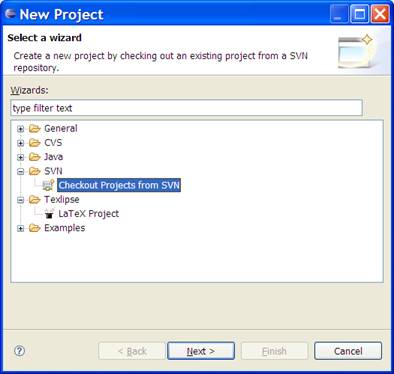
Click Next,
highlight Create a new repository
location (if needed repository isnt in the list).
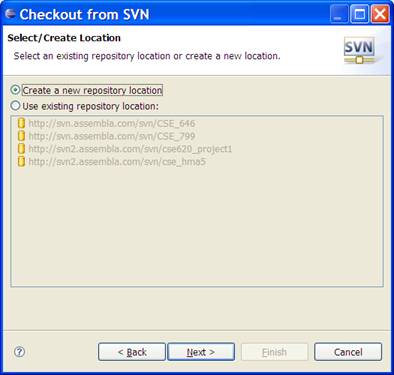
Click Next, and enter the
URL as
https://svn.assembla.com/svn/CSE_799
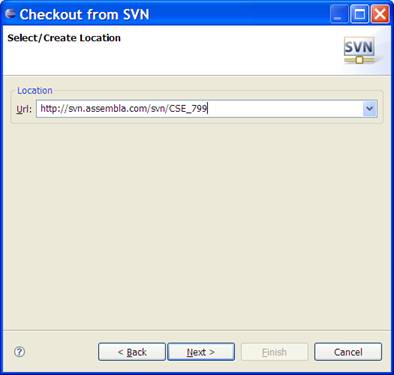
Click Next and enter your Assembla
login.

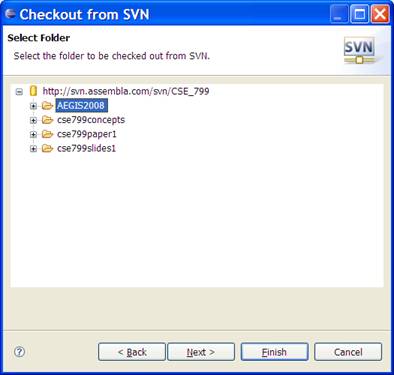
Click Next
and select the AEGIS2008 project.
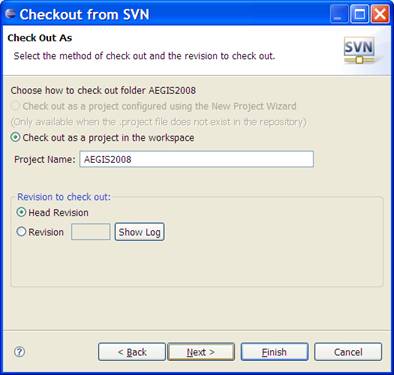
Click Next and leave the defaults for the Project
Name (unless you have a local conflict).
Click Next and optionally change the workspace
location.
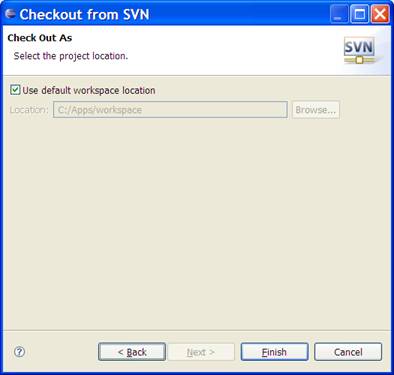
Click Finish to allow Eclipse to check out the project to your local workspace.
A good tip to avoid conflicts is to agree on which section of the project.
Right click the Project and select Team,
Synchronize with Repository.

If there are new changes, the Incoming Changes button will enable. 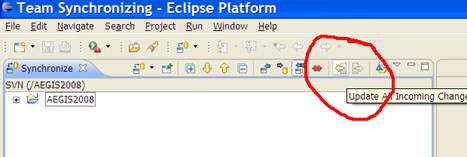
If there are changes, click this Update
All Incoming Changes button. When finished Eclipse should display No
Changes.

Click the Java perspective button to get back to the Project view.
NOTE: Please ensure the code
compiles before checking it in. Also, remember to Update All Incoming Changes after checking in your changes. Ensure
Eclipse displays status of No Changes when you are done.
Right click the Project and select Team, Synchronize with Repository.
If there are new changes, the Outgoing Changes button will enable.
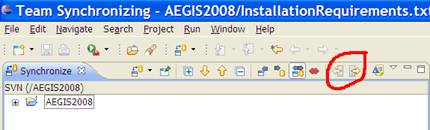
If there are changes, click this Update
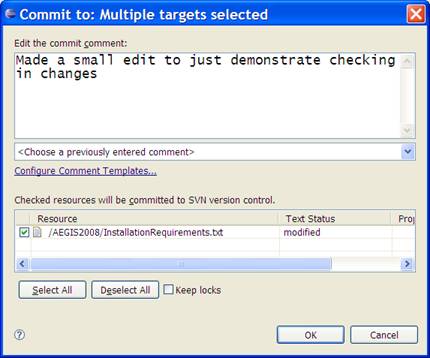
All Outgoing Changes button. Enter a brief comment (other developers will
able to view this) and click OK.
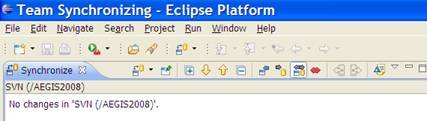
After checking in your code, click the Update All Incoming Changes button. When finished Eclipse should
display No Changes.
|
Politica de confidentialitate | Termeni si conditii de utilizare |

Vizualizari: 1349
Importanta: ![]()
Termeni si conditii de utilizare | Contact
© SCRIGROUP 2026 . All rights reserved